
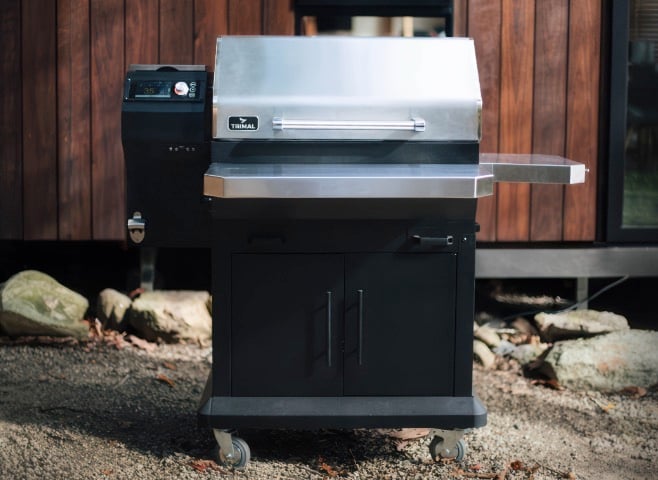
Trimal S1 (V3 – June 2025 onwards)
Refer to the video below, but take note of the following small changes.
- Power cable into the rear of the hopper is fixed, not plug in (See section 3.10 of the manual)
- Temperature sensor cable cover added (See section 3.16 of the manual)
- Outer fan has a shroud (See section 3.17 of the manual)
- Left fire grate design is updated (See section 3.18 of the manual)
- Top grill rack guides are now L shaped, not U shaped (See section 3.22 of the manual)
Open the video in Youtube and refer to the video description for chapter markers to jump to specific sections, or refer to the times listed below.
00:31 – Unpack Hopper Box
02:01 – Download Trimal App
03:00 – Software Update
04:29 – Unpack Bottom Box
05:23 – Benchtop Feet
05:52 – Cabinet
10:07 – Grill Temp Sensor
10:34 – Grill Lid
11:48 – Hopper
12:48 – Temperature sensor plug
13:49 – Heating element
14:24 – Replace fan cover
14:32 – Power Cable Bracket
14:35 – Pellet Ignitor
14:47 – Fire Grates
15:59 – Heat Baffle
16:40 – Drip Trays
17:47 – Grill Racks
18:09 – Fire Up & Burn In
19:55 – Shut Down
Assembly Additional Notes
Loose Auger Motor?
Yes the auger (orange cap) should be loose, as it needs to be able to move around to break through the pellets.
Heating Element Screw
If the 2nd screw for the heating element is not already screwed into the base of the grill, use the extra one provided in the plastic bag.
Screen Protector Film
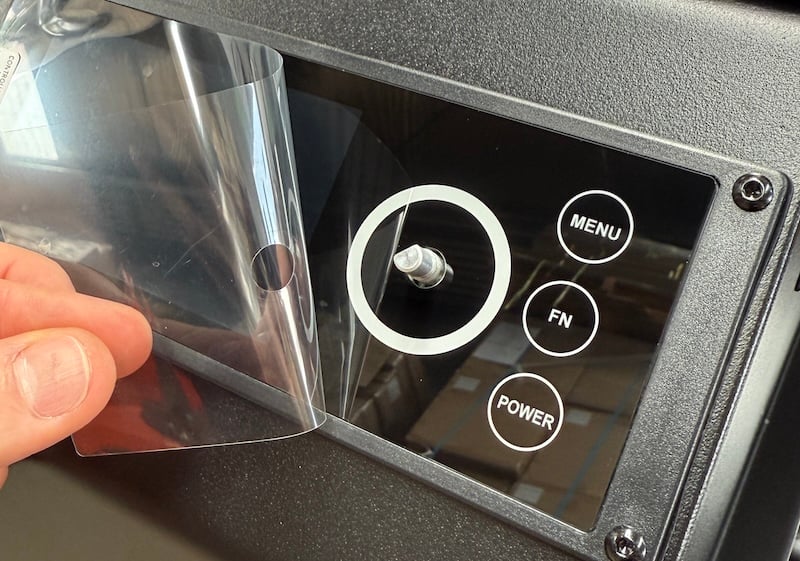
If the hardened glass screen has a protective plastic film that should be removed before use. If left on the film adhesive will degrade with heat and exposure to UV light and become tacky and discoloured.
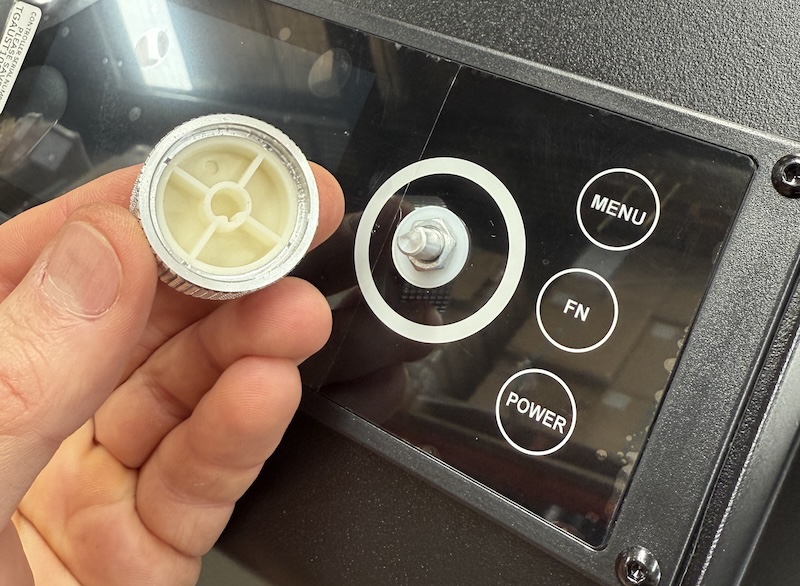
Some controllers have a double layer film that is not able to be peeled off due to the controller knob blocking it. Remove the knob and peel it off. See steps below.
- Pull off the control knob (it is tight) with your fingers. Do not use anything to pry it off, as you will crack the glass screen.
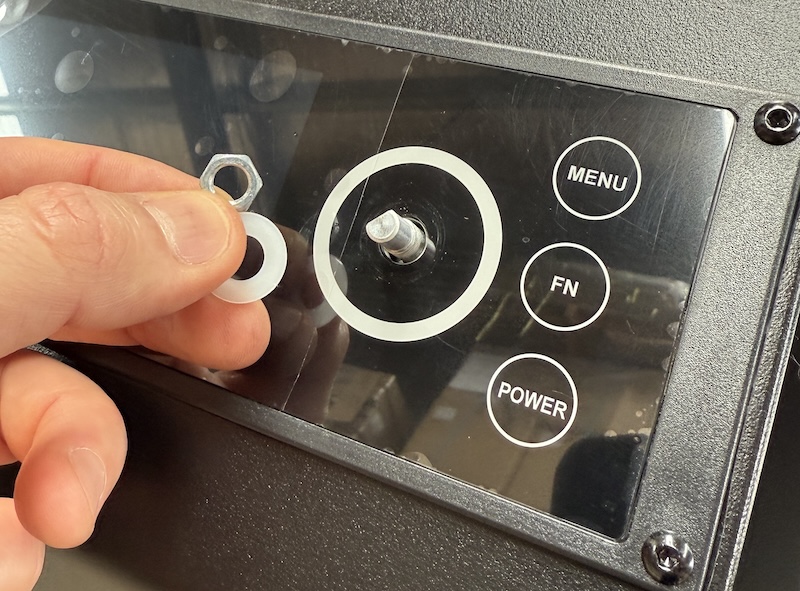
- Remove the nut and washer
- Peel off the protective plastic.
- Replace the plastic washer (important), nut and finally the control knob.
Instruction Manual (Edition 3 )