If there is a problem with the controller box (includes the display) it can be easily replaced.
Tool & Parts Required
- 4mm Hex tool (Allen key)
- Scissors or wire snips
- Philips head screwdriver
- Replacement pellet ignitor (from Trimal team)
Replacement Process
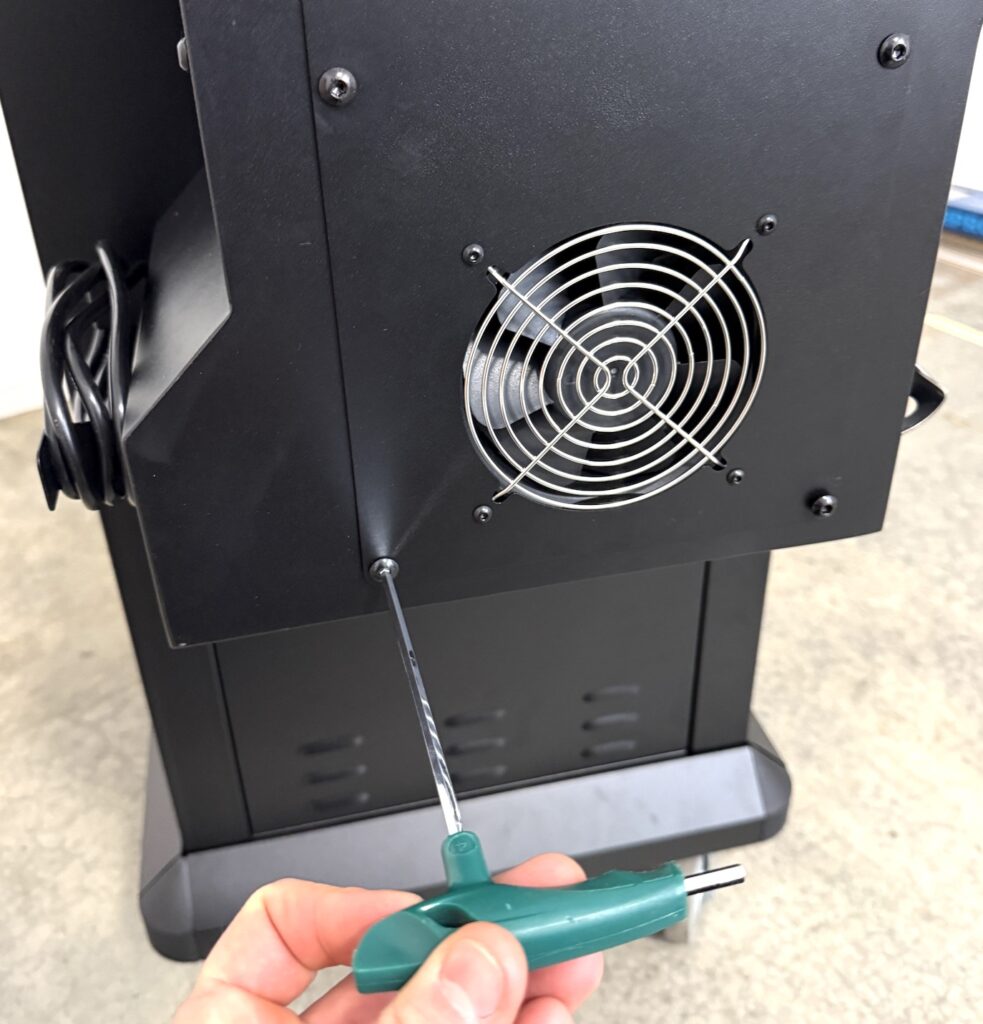
Remove Hopper Fan Cover
Remove the hopper fan cover by unscrewing the 4 large screws on the side panel.
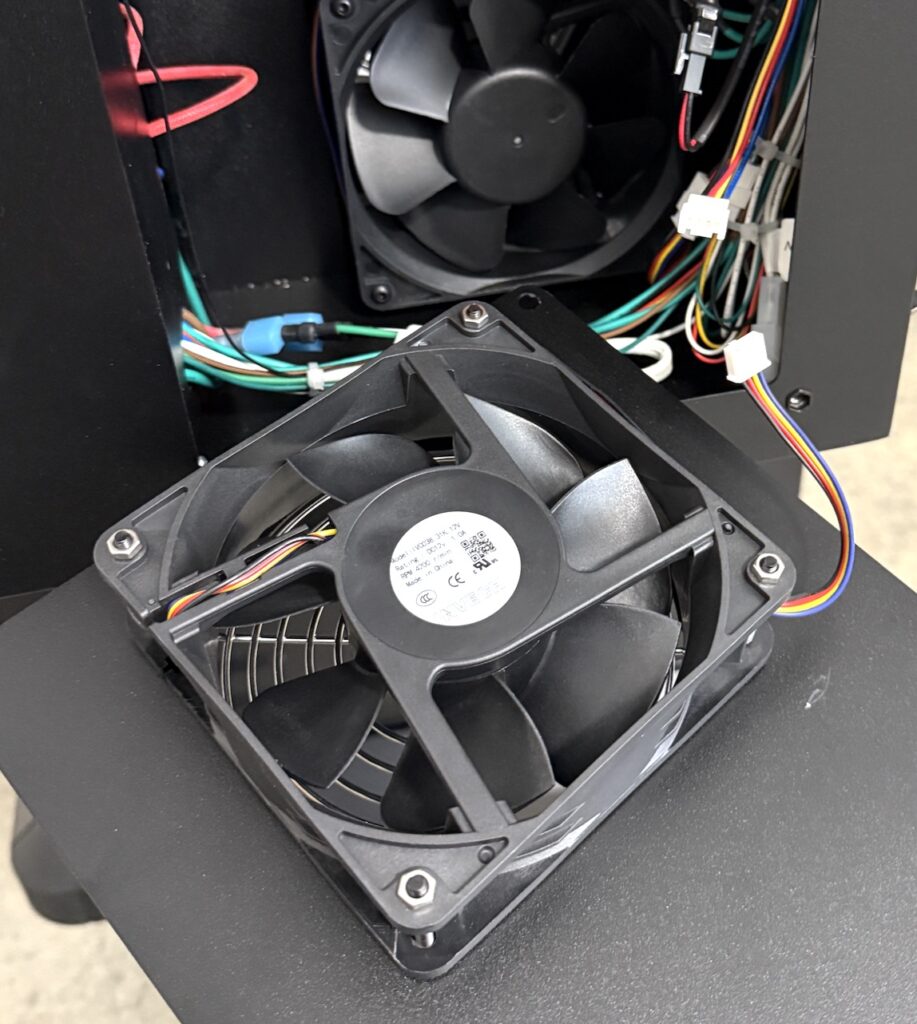
Unplug the outer fan connector, and place fan off to the side.
Unplug Cables
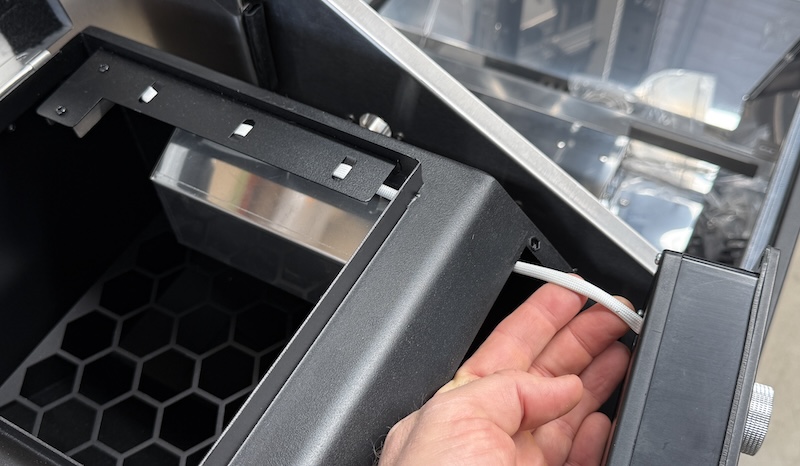
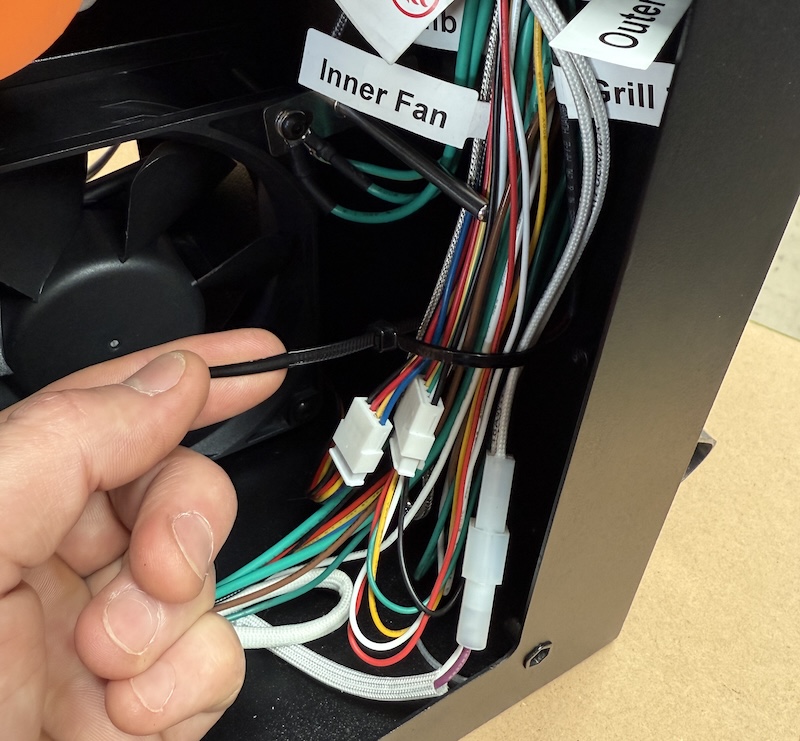
Cut the cable ties on the right side as required to free up all the wires. Be careful not to cut through any of the wires.
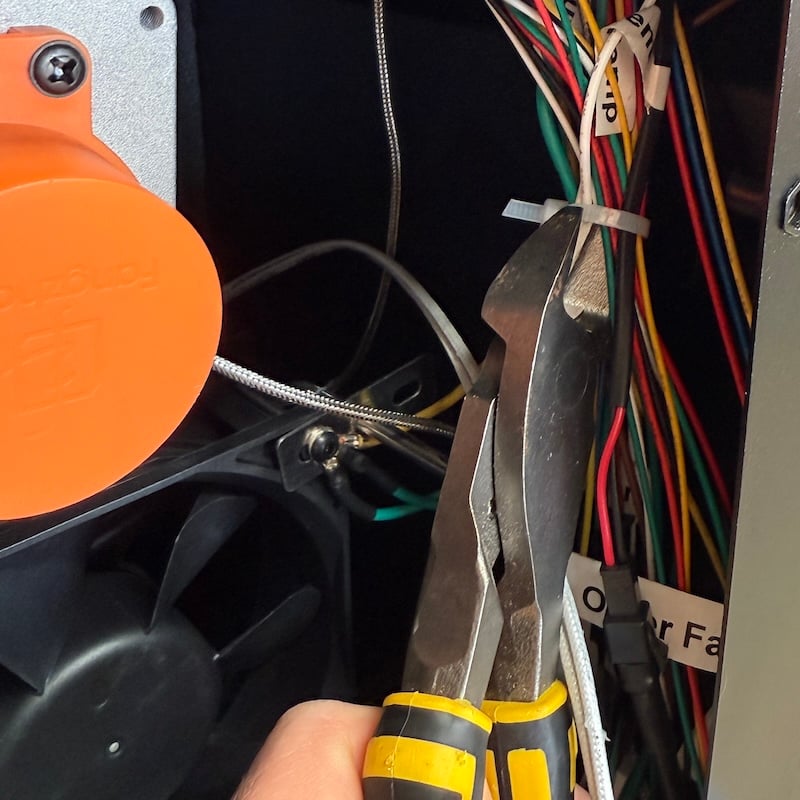
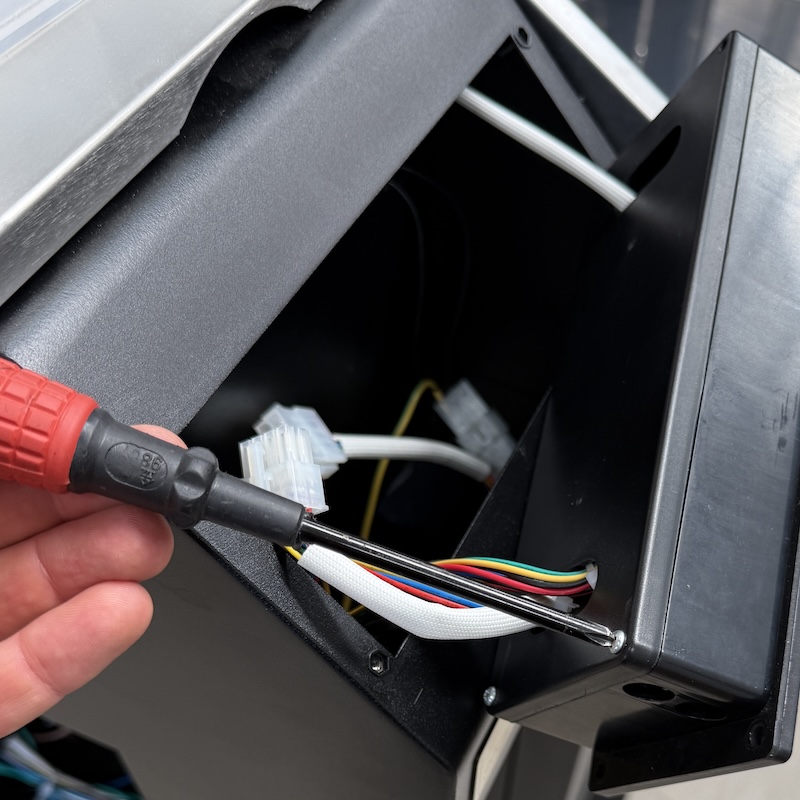
All the wires on the right hand side of the hopper box can be unplugged, with the exception of the pellet ignitor (shown below) which can remain plugged in.
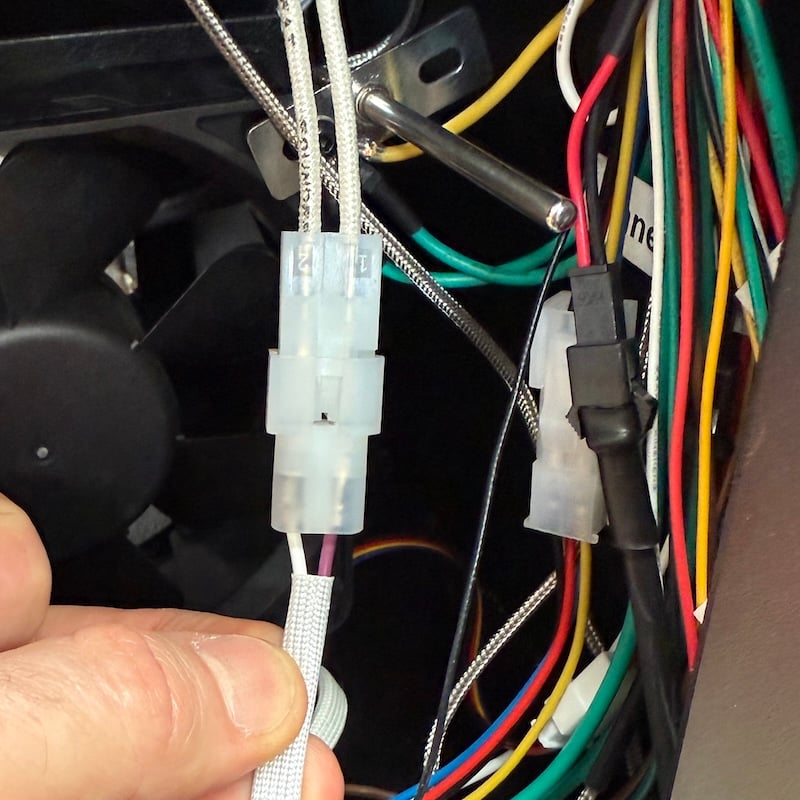
The plugs are all different types with the exception of the fans and temperature sensors, but they are both labelled – so unplug without fear of getting them wrong when plugging in the new controller!
Antenna Wire
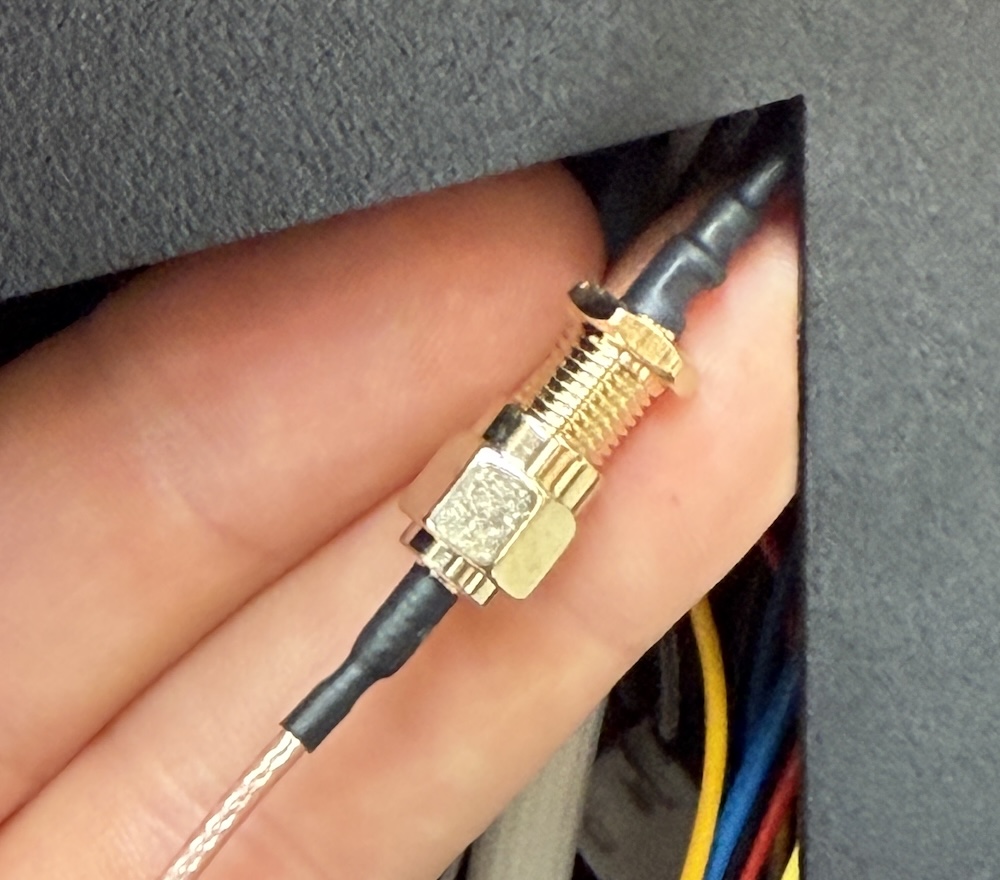
If the wire running to the antenna connector on the back of the hopper is a dull-orange colour, it has a nut in the centre that can be undone for an easy switch over of the controller.
If the antenna wire is a thin black style, it runs as a continuous cable from the brass nut on the back of the hopper to the controller, so the nut must be removed.
Remove Controller Box
Remove the 4 screws that secure the controller box into the hopper.
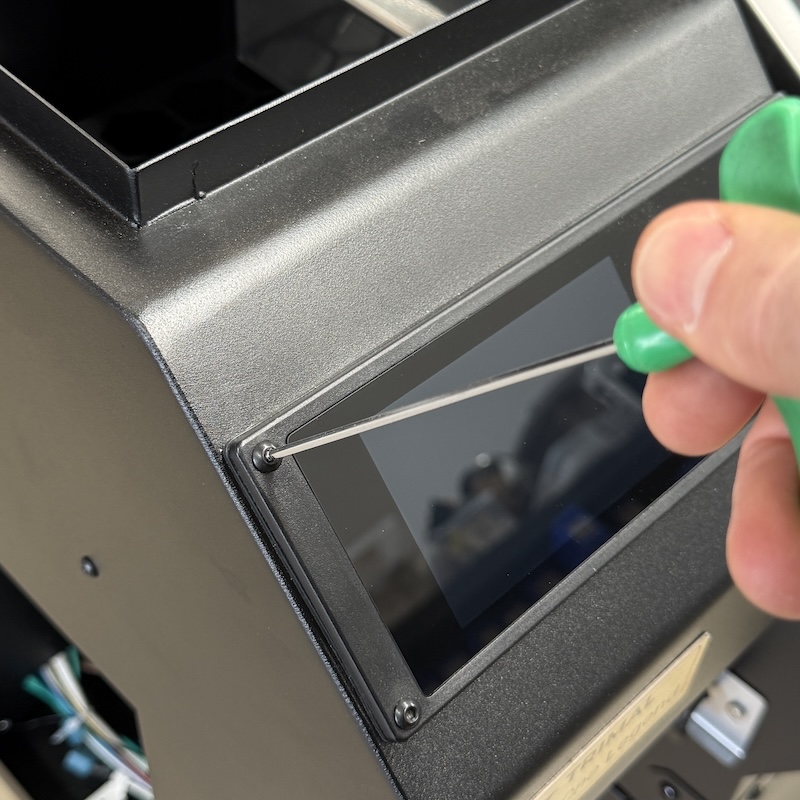
Lift the controller out enough to access the large plug connected to the food temperature probe panel. Unplug.

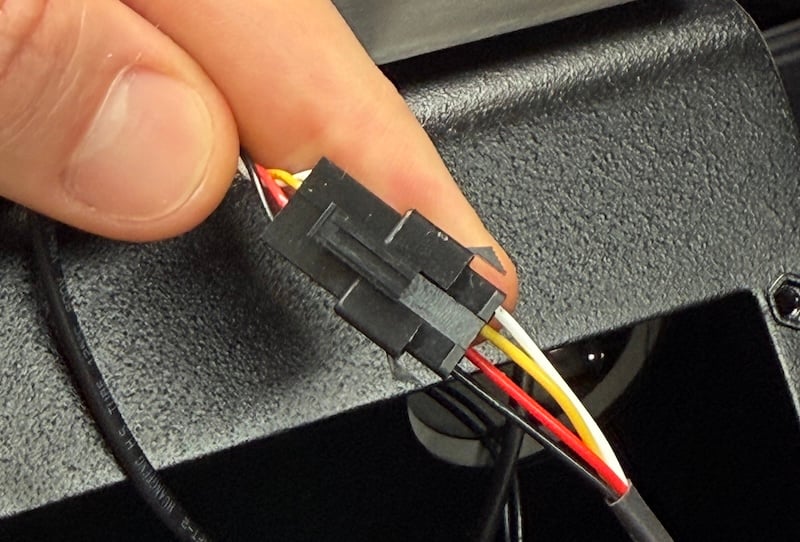
Pellet Sensor (black plug)
If the pellet sensor cable has a black plug in the centre, unplug it.
Pellet Sensor (no plug)
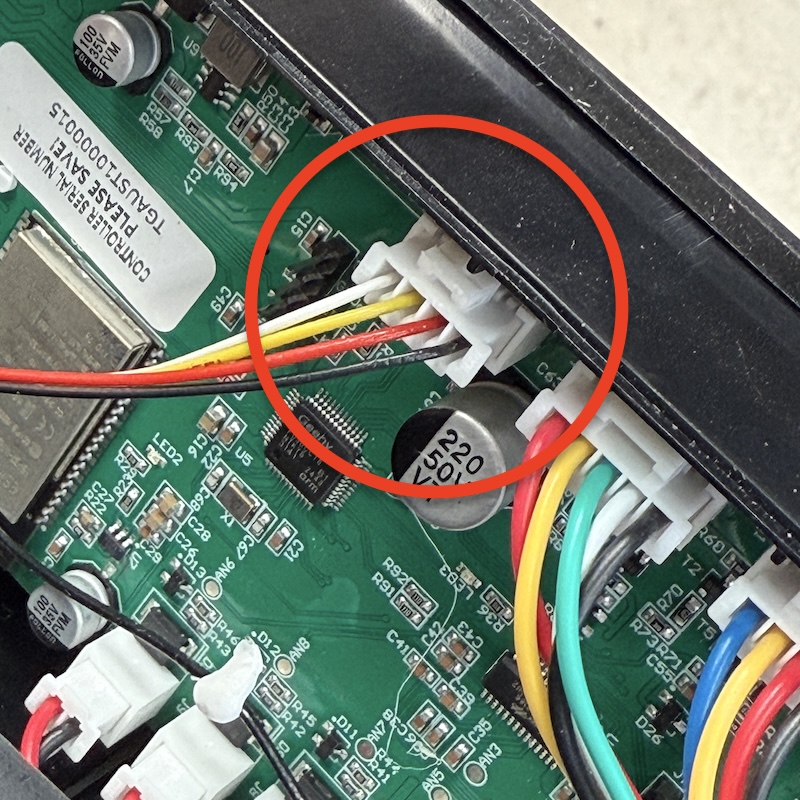
If the pellet sensor cable is a continuous white sheathed style that runs into the controller box (as show below), the 4 screws on the back need to be removed.
Remove the rear panel enough to get access to the circuit board. Unplug the pellet sensor plug. It has a hook-lock on the side that needs to be pushed in with blunt object to be removed.
Connect All Plugs
Pull the old controller out, and replace with the new controller.
Plug back in all the cables and secure back in place.
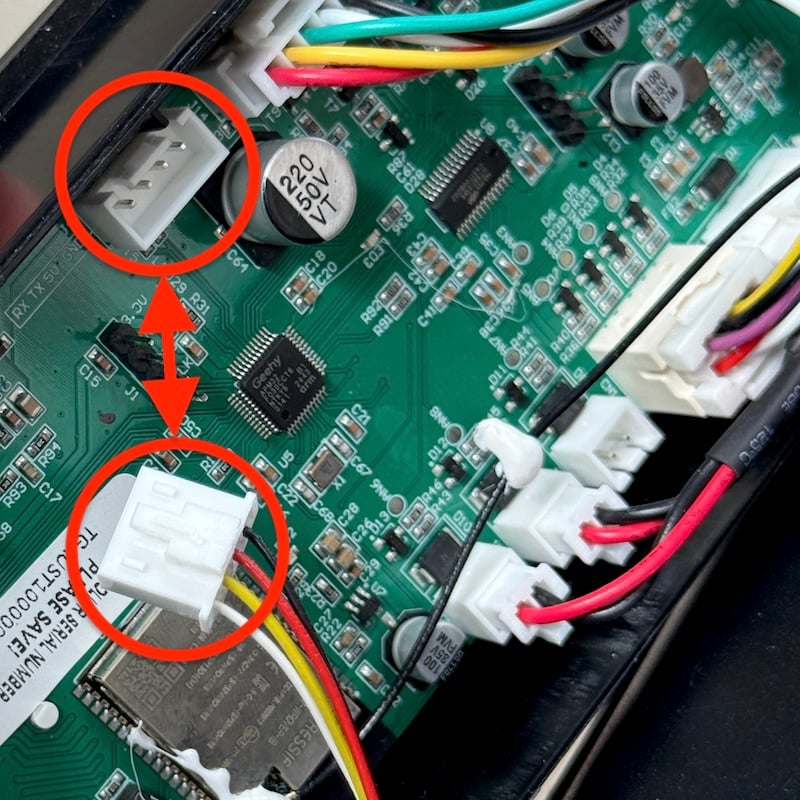
Fan Plugs
There are two fan plugs that are the same, but are labelled inner and outer fan. Leave the Outer Fan plug loose so it can be easily connected to the fan cover.
Temp Sensor
There are two temperature sensor plugs, labelled Amb Temp and Grill Temp.
- Amb Temp: measures the ambient temperature, located inside the hopper, top right corner of the inner fan
- Grill Temp: measures the grill temperature. This is connected once the hopper is mounted onto the grill.
Clean Up Cables
Neatly bundle the cables down the right side of the hopper and secure with cable ties. The cables do not need to be secured too tight, just enough to keep away from the fans.
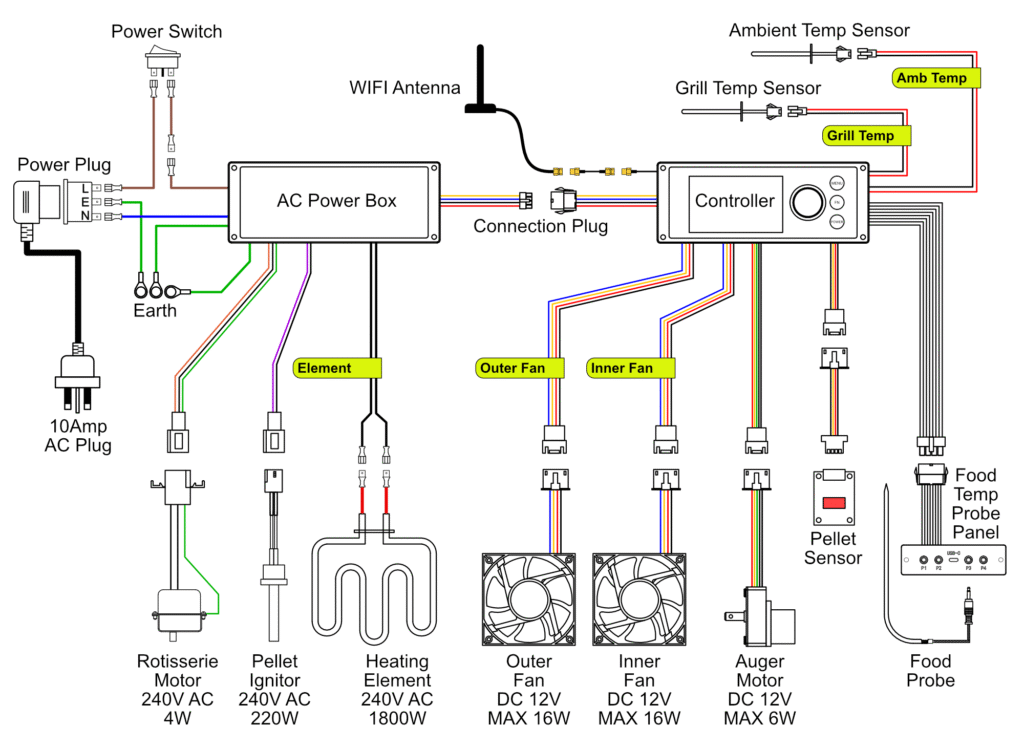
Wiring Diagram