If the food probe panel fails it can be easily replacd.
Tool & Parts Required
- 4mm Hex tool (Allen key – provided with the grill)
- 2.5mm Hex tool (Allen key – provided with the grill)
- Scissors or wire snips
- Replacement food probe panel (from Trimal team)
Replacement Process
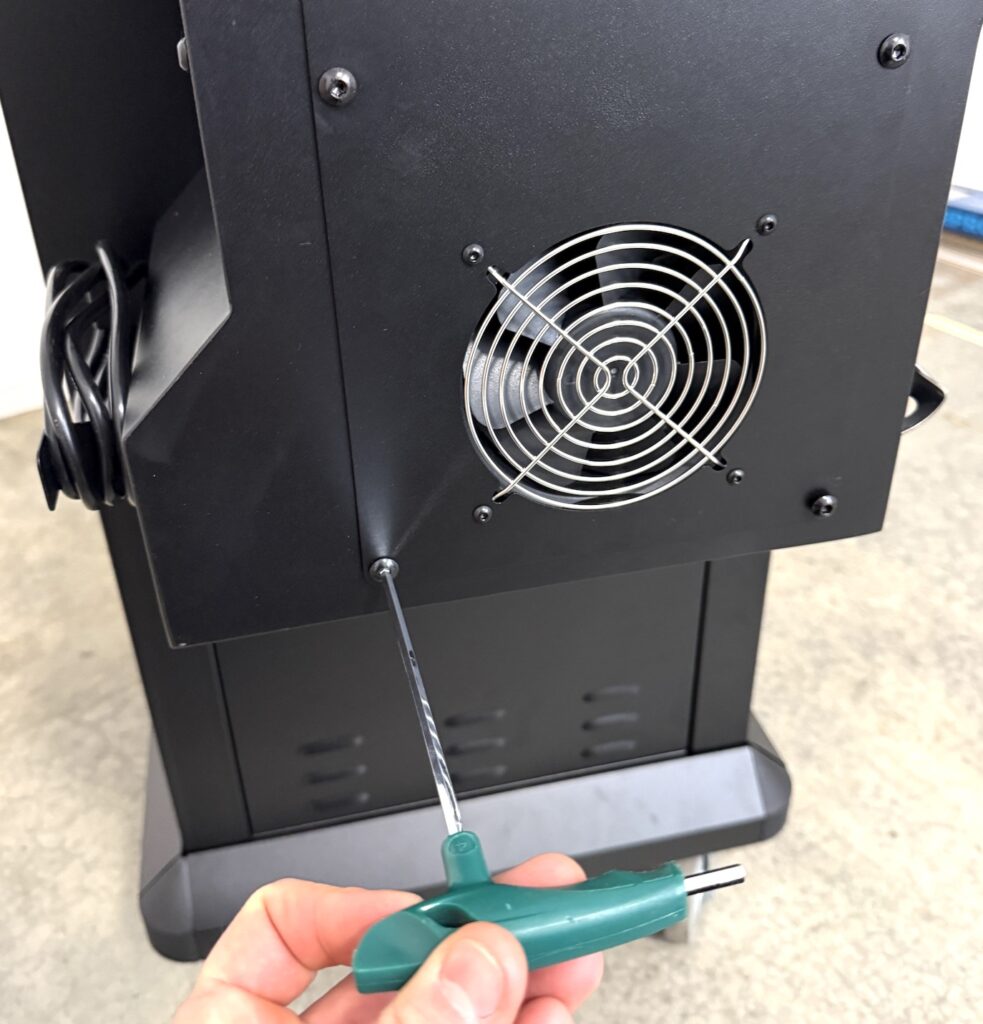
Remove Hopper Fan Cover
Remove the hopper fan cover by unscrewing the 4 large screws on the side panel.
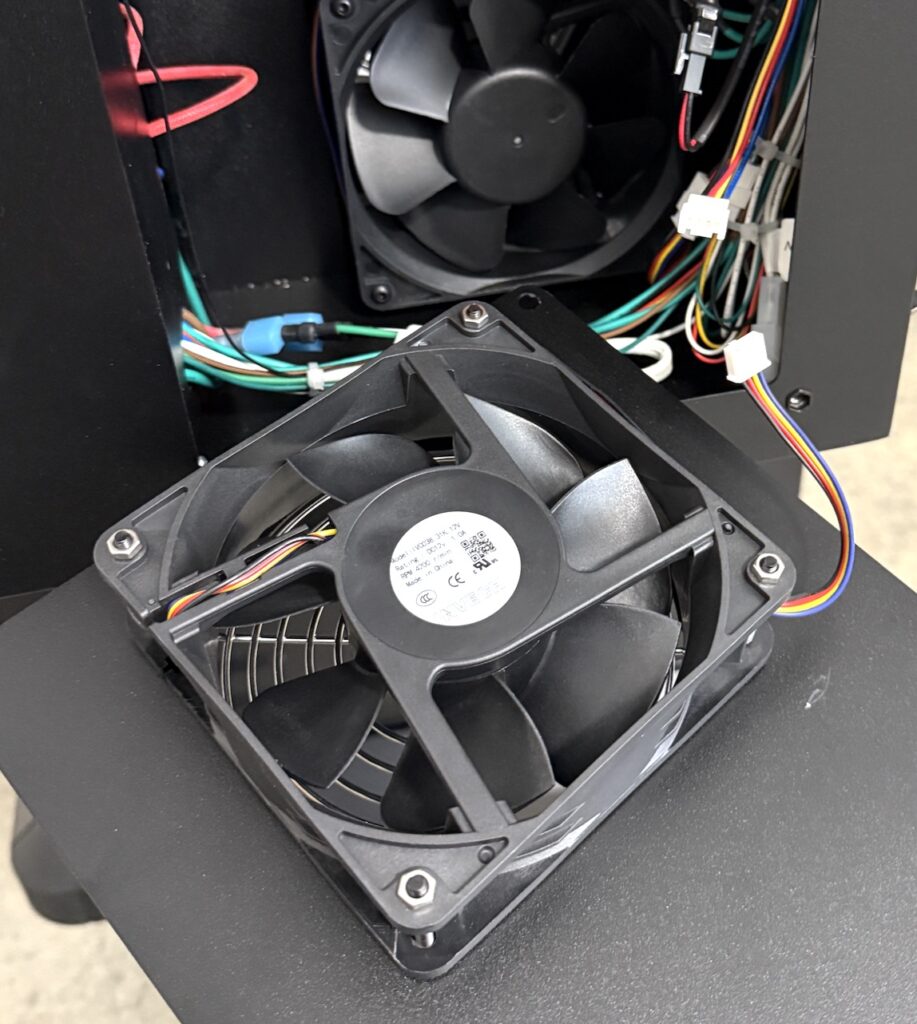
Unplug the outer fan connector, and place fan off to the side.
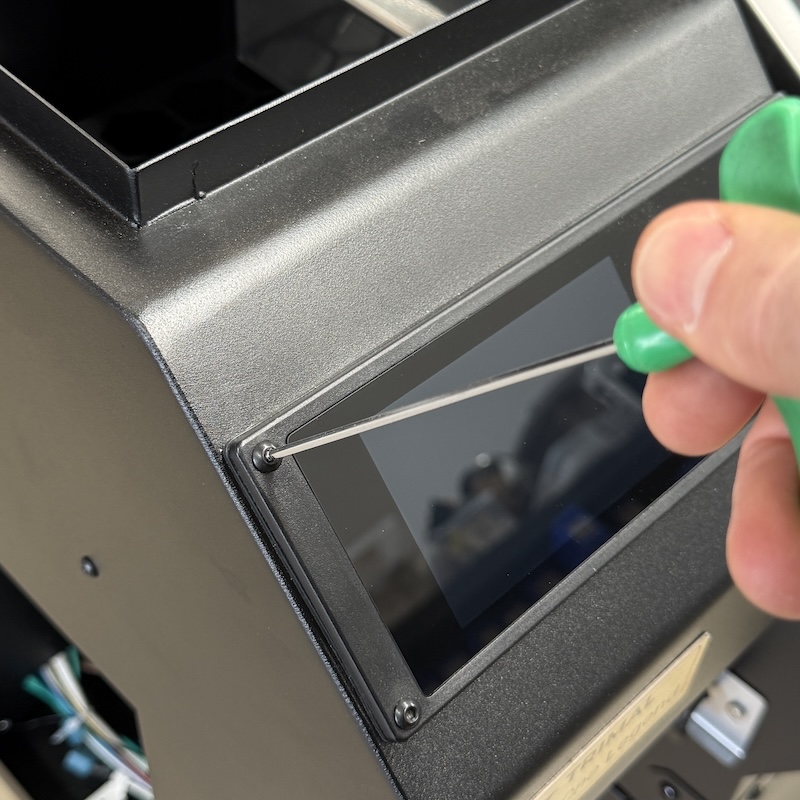
Loosen Controller Box
Remove the 4 screws that secure the controller box into the hopper.
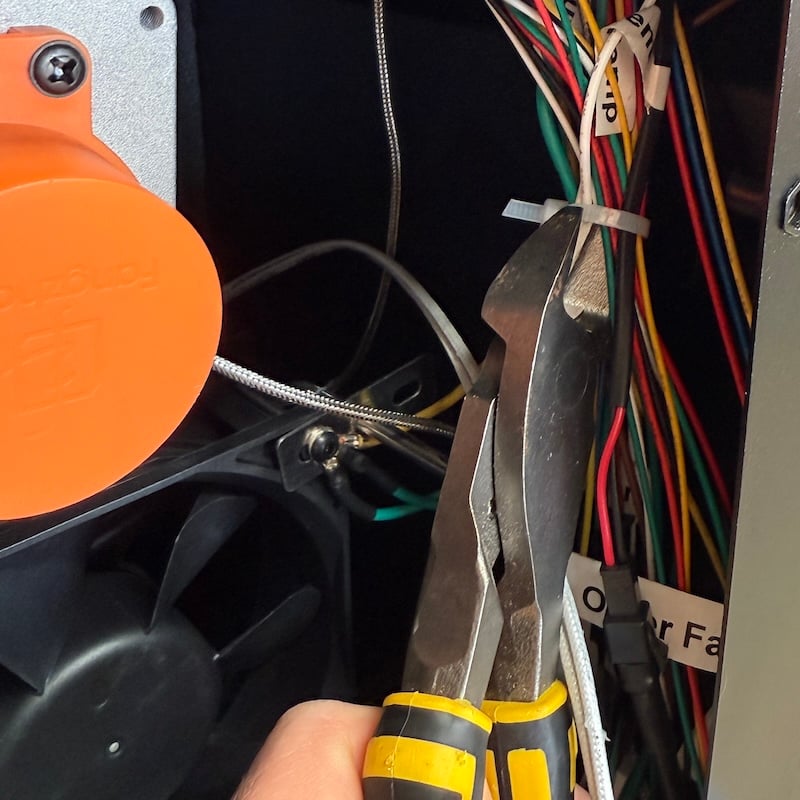
Lift the controller out enough to access the large plug connected to the food temperature probe panel. Unplug.

Some of the cable ties or twist ties holding the wires in place may need to be undone or cut to allow enough slack to lift the controller out.
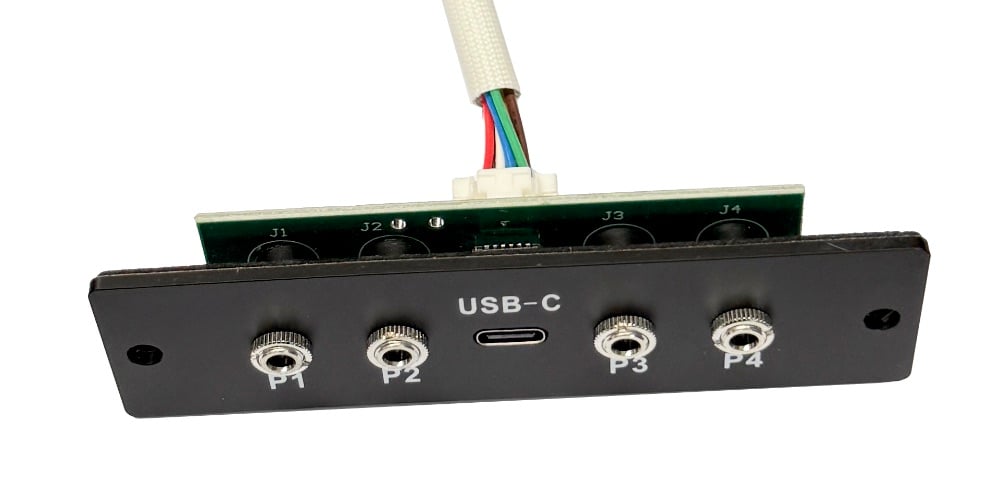
Change Food Probe Panel
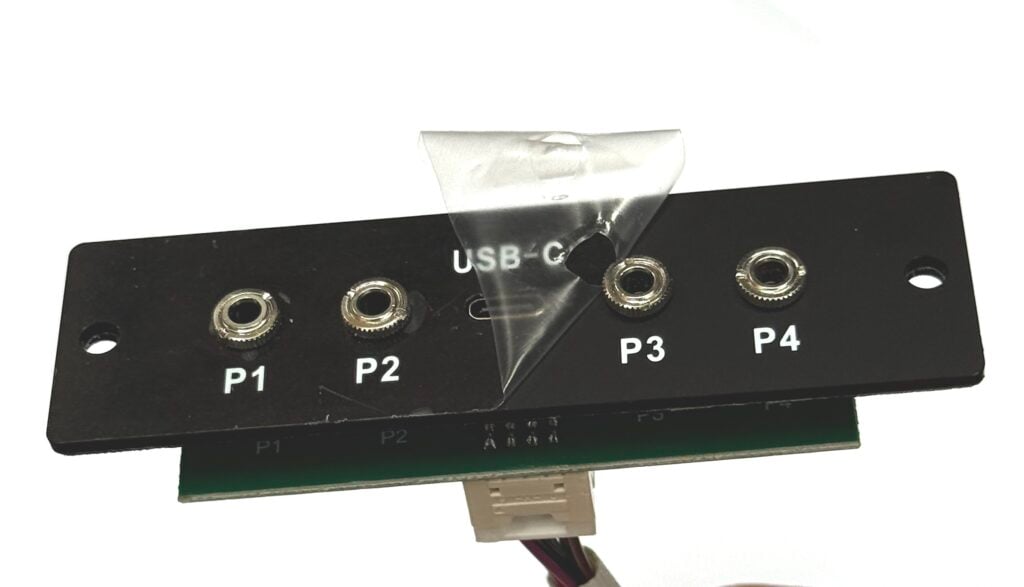
Remove the two screws and take out the panel and replace with new one.
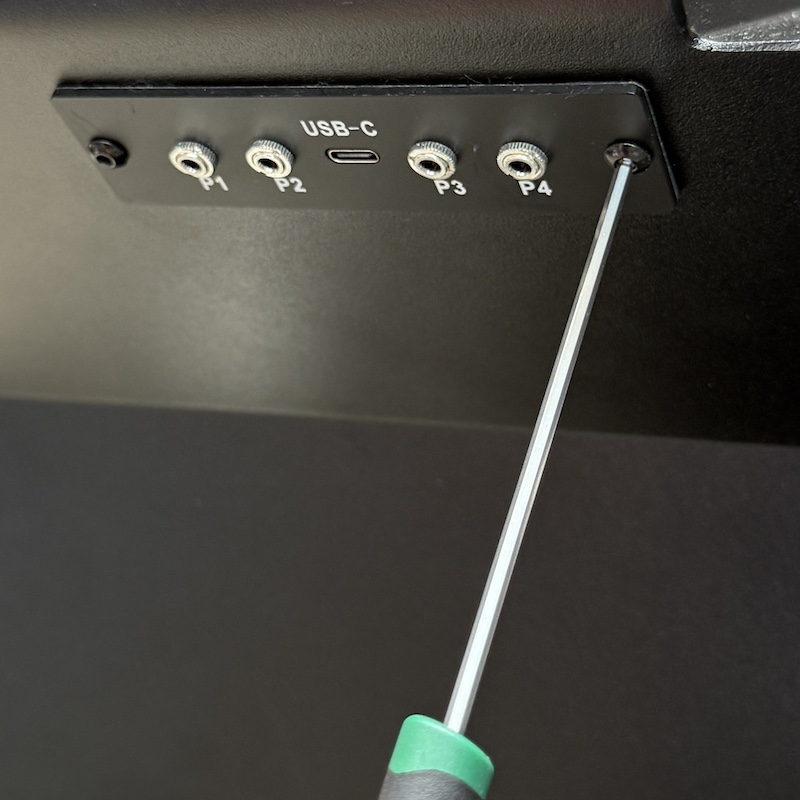
Loosen the 4 round nuts (with fingers) and peel off the protective plastic film.
Put controller back in place, ensuring the rubber seal along the top and bottom is sitting snug against the side of the controller.
Only do the screws up enough to compress the rubber seal slight without bulging out the side too much.
Clean Up
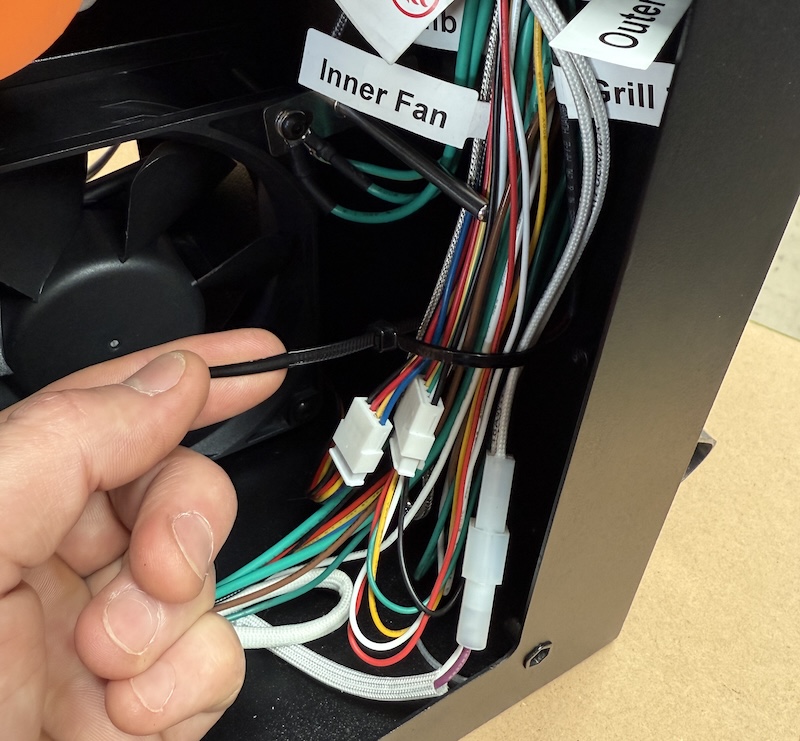
Neatly secure the wiring with twist ties or cable ties. The cables do not need to be secured too tight, just enough to keep away from the fans.
Plug in the fan and secure back in place.