If the auger motor fails, it can be easily replaced. Error 31 will be displayed if the controller detects the auger is not operating.
Check Operation
No Pellets
- If no pellets are being delivered, empty the hopper (vacuum out all pellets) and check to ensure the auger shaft and motor are loose and able to move freely.
- If stuck the auger may have a pellet, or dry wood dust preventing it from moving.
- Remove the auger shaft (following instructions in this guide), clean and return into place.
Error 31
- If this error occurs the controller has not received a reliable signal back from the controller indicating it isn’t rotating.
- If during testing it is rotating, then the plug connection may be loose.
- See video below to check the auger plug connection.
Tool & Parts Required
Tools You Need
- 4mm Hex tool (Allen key)
- Scissors or wire snips
- Adjustable spanner, small socket set or pliers
Auger Kit Parts supplied by Trimal
- Replacement auger motor
- Spare bushing and screw
- Spare pin and nut
- 7/64″ Hex tool
- L Phillips head screwdriver
- Cable ties
Replacement Process
Remove Wood Pellets
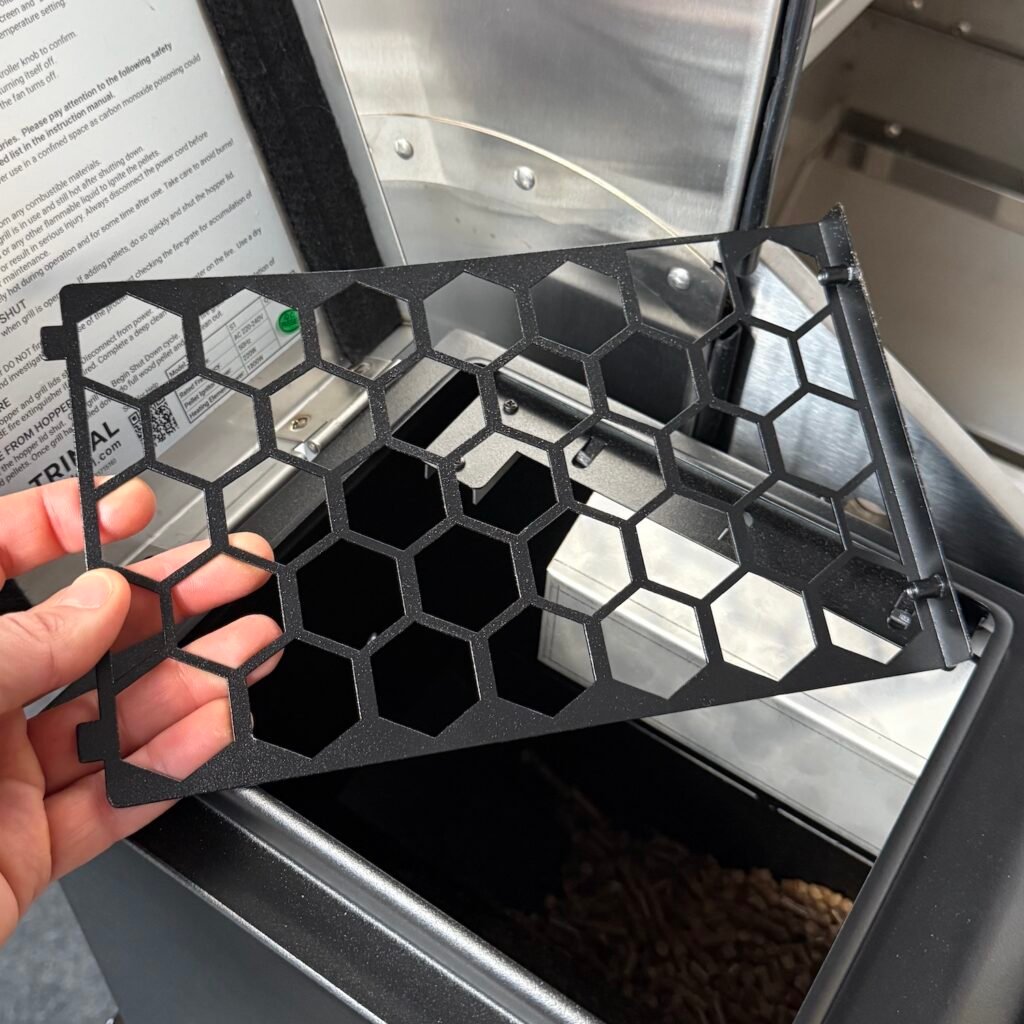
Dump pellets from the hopper, then remove the finger guard (2 screws on rear of hopper).
Vacuum out all remaining pellets so the auger shaft is clear.
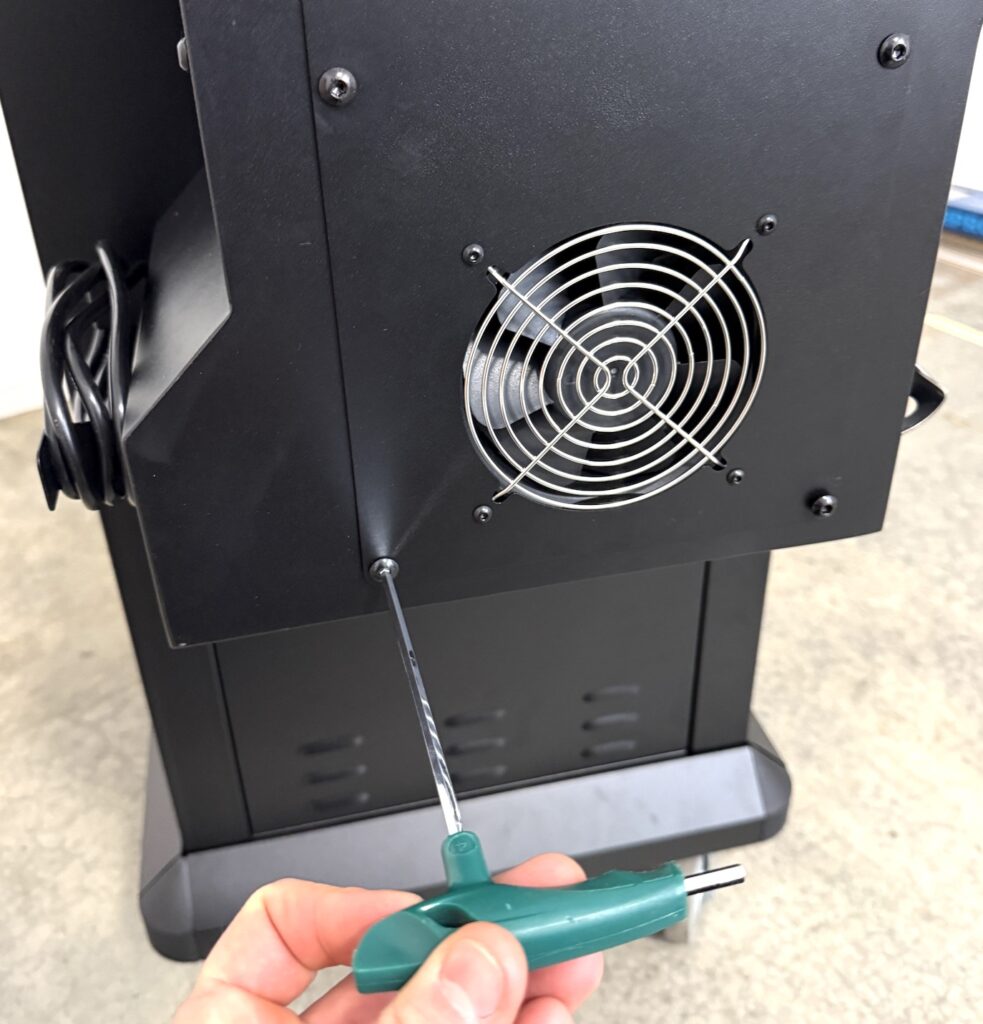
Remove Hopper Fan Cover
Remove the hopper fan cover by unscrewing the 4 large screws on the front.
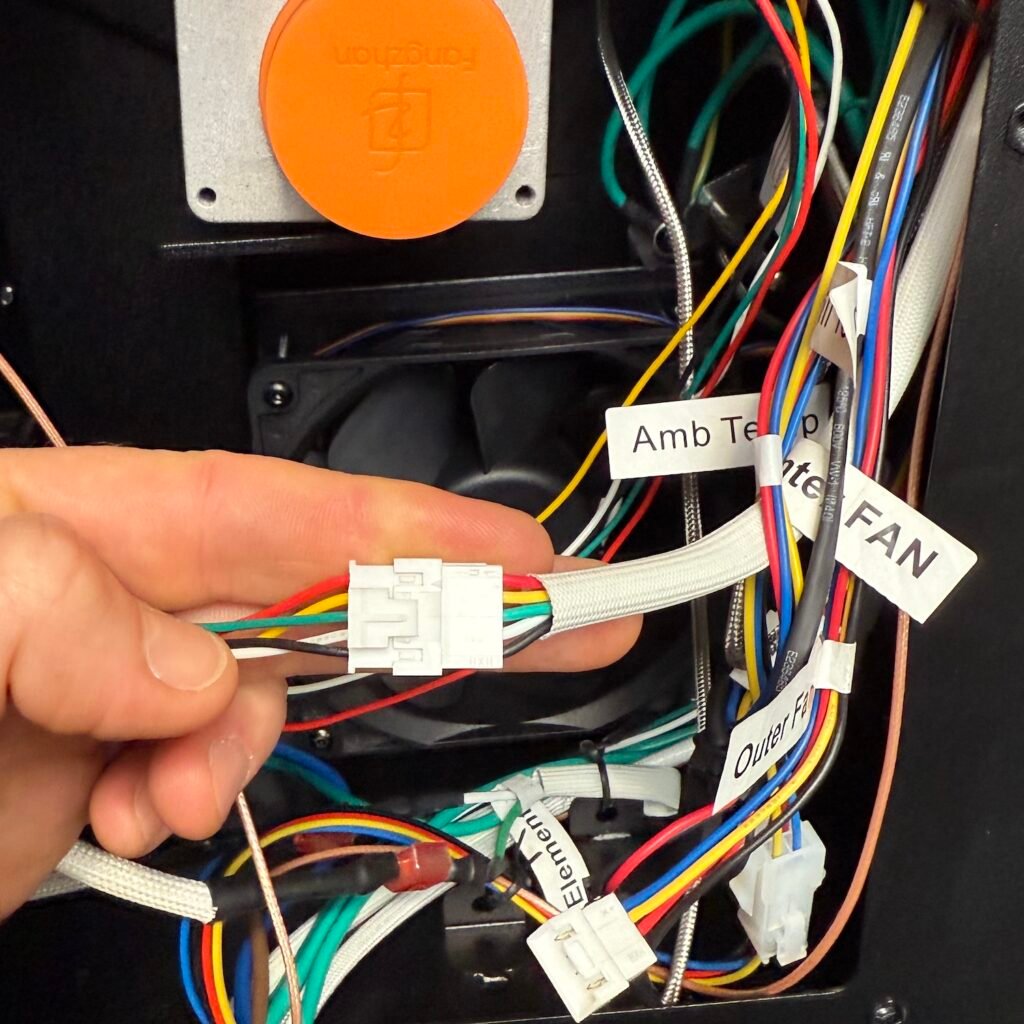
Unplug the outer fan cable, and place the cover off to the side.
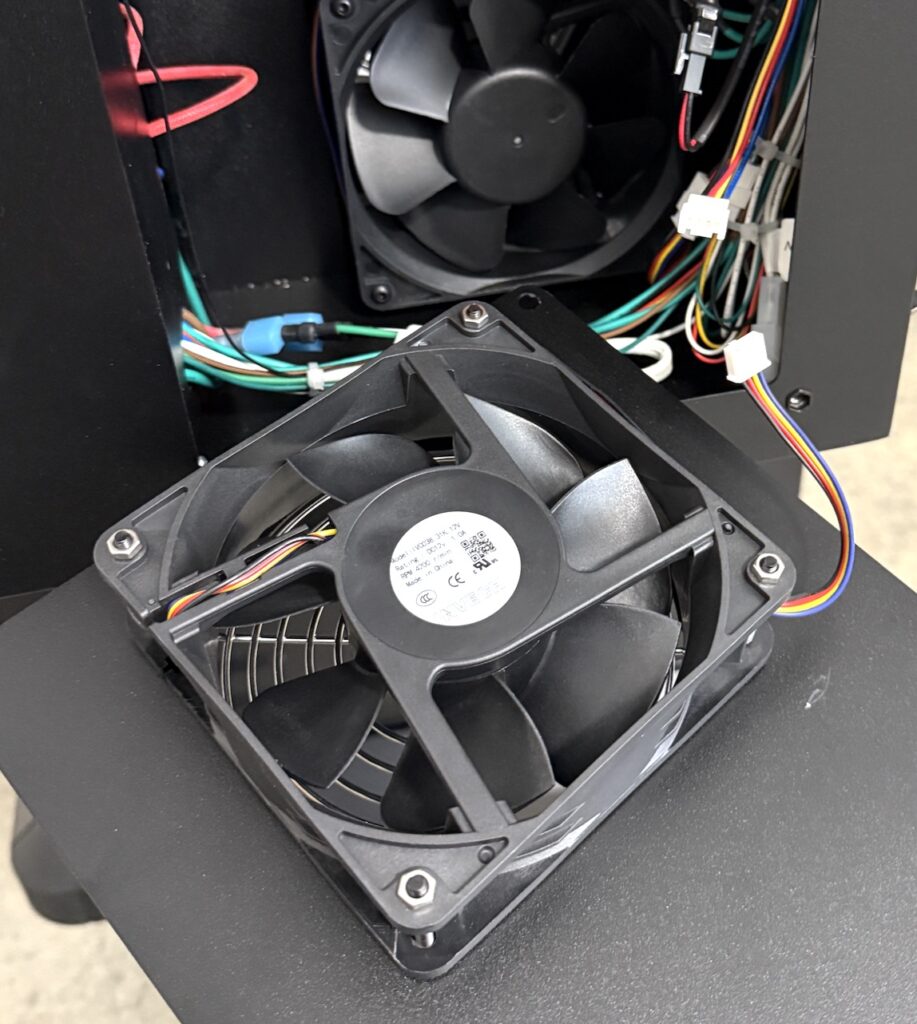
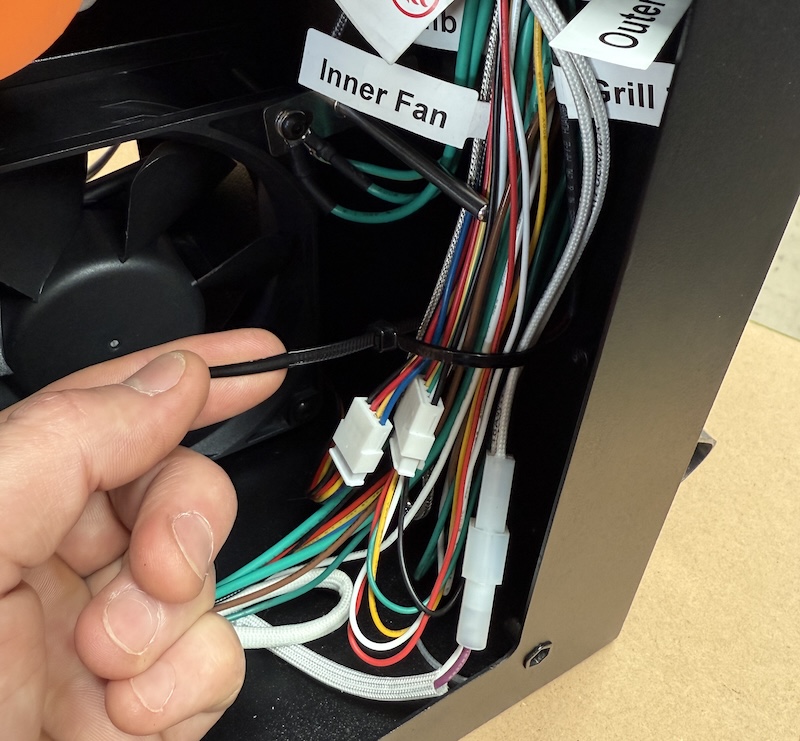
Cut or undo the cable/twist ties enough to pull out and unplug the auger motor cable.
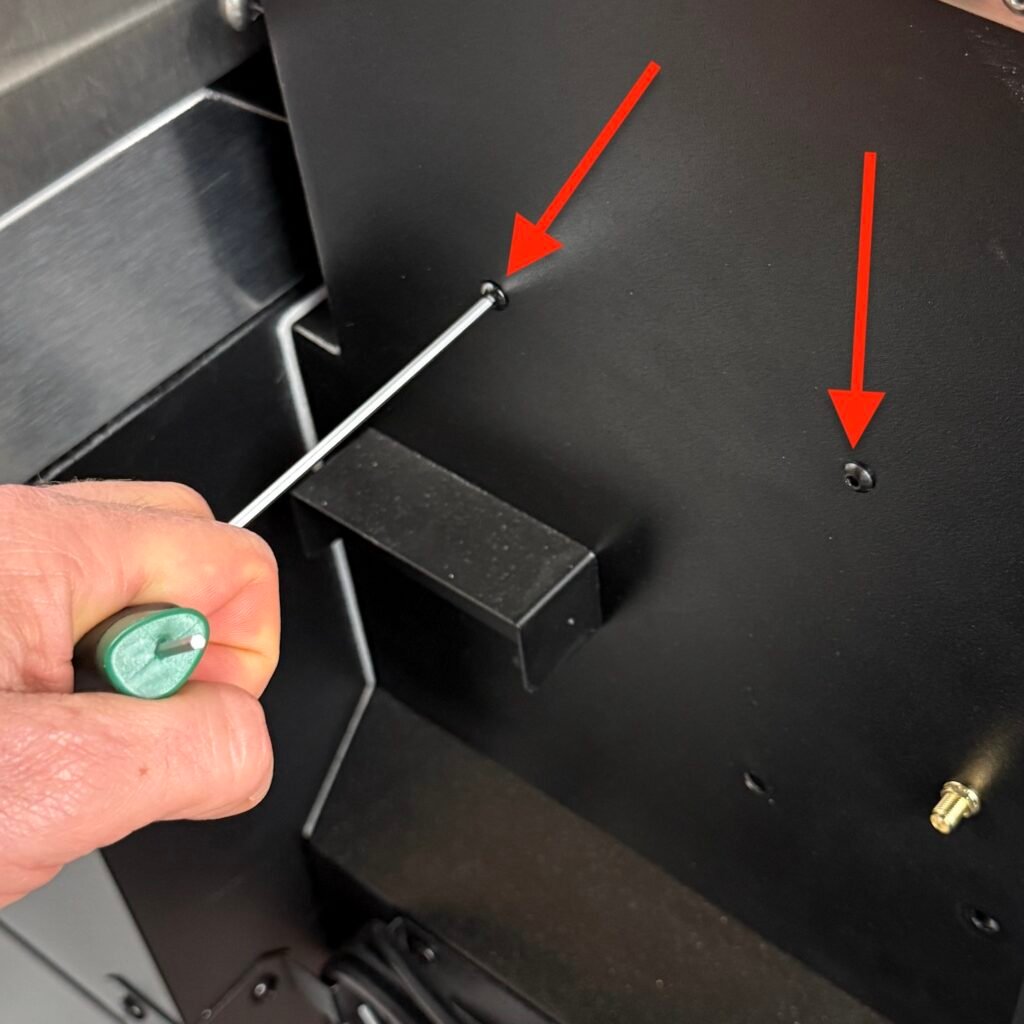
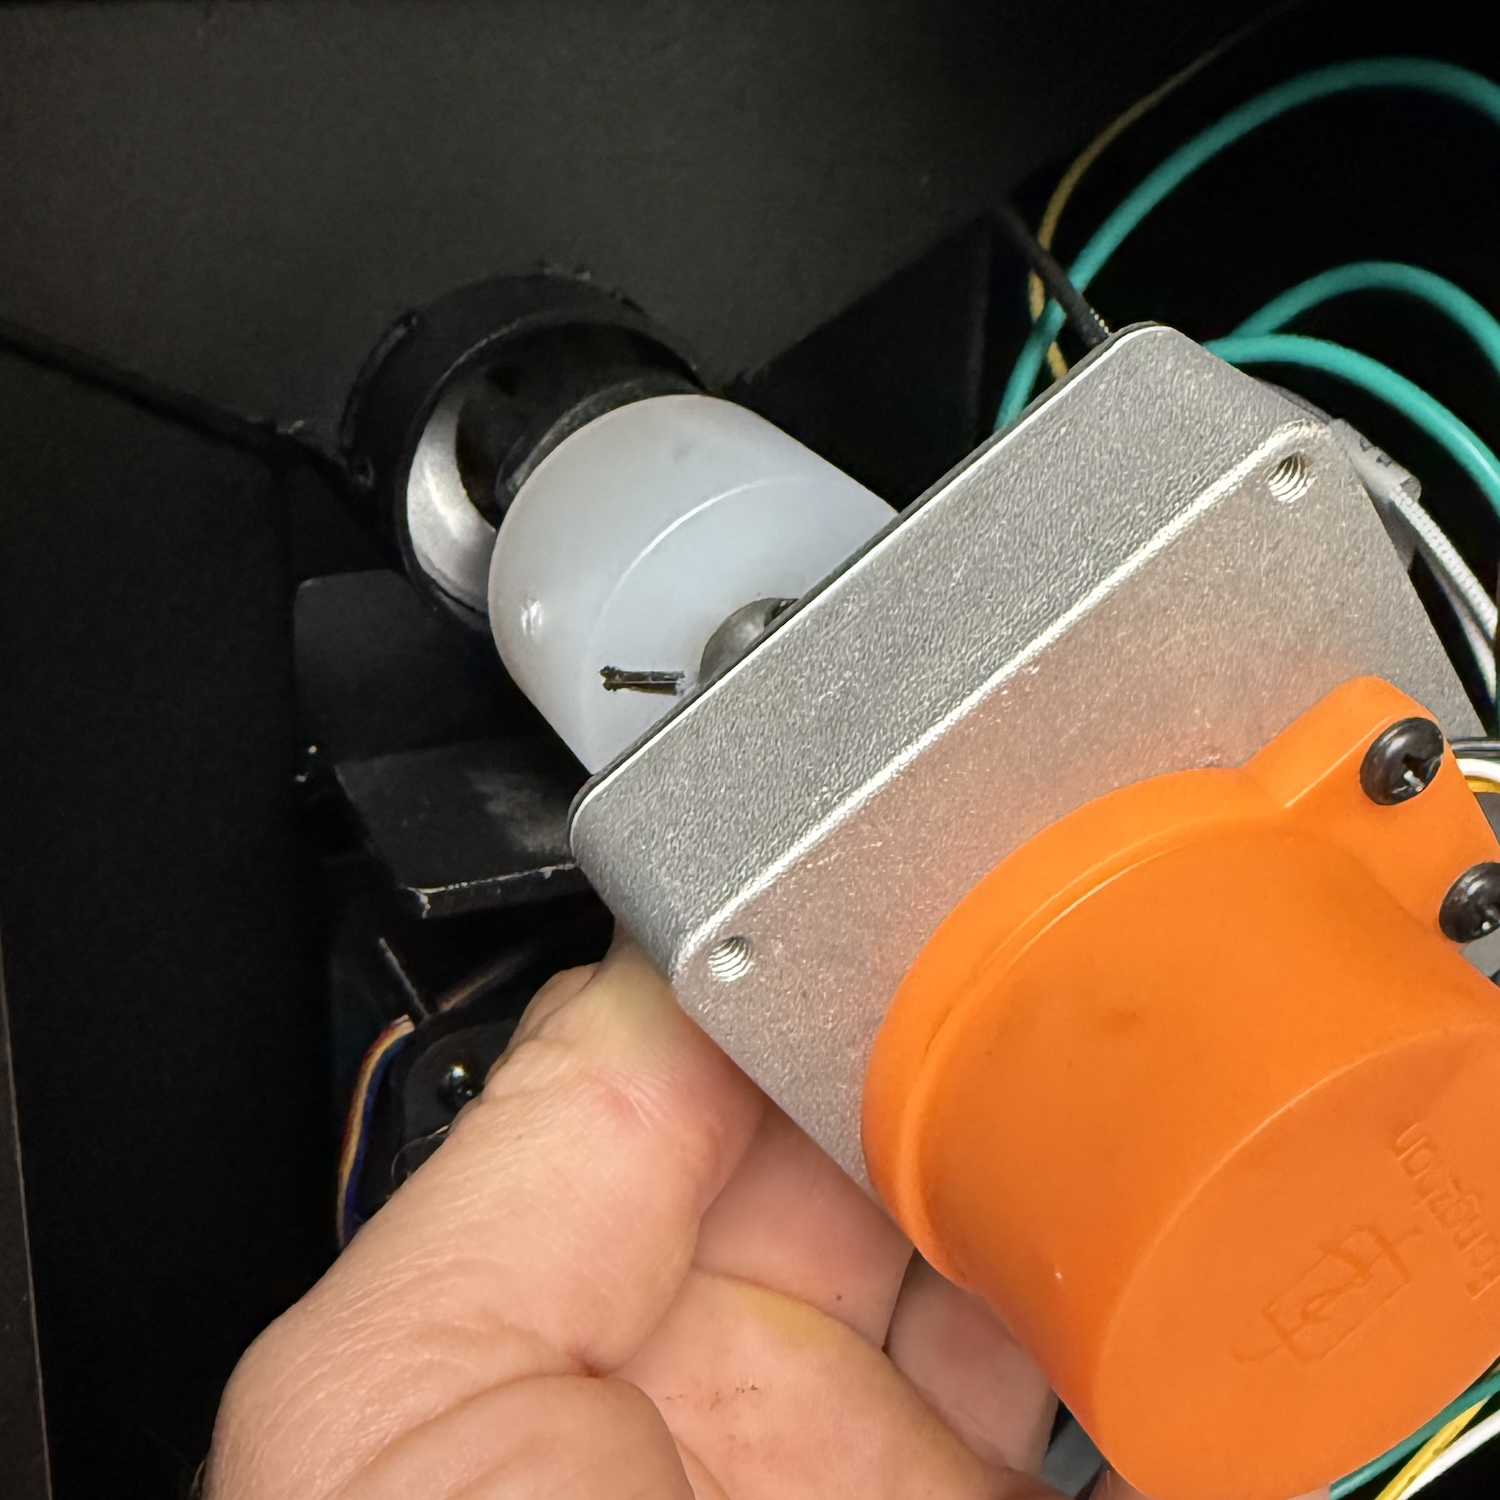
Remove Bushing Screw
Unscrew the small screw on the left of the auger that secures the white plastic bushing.
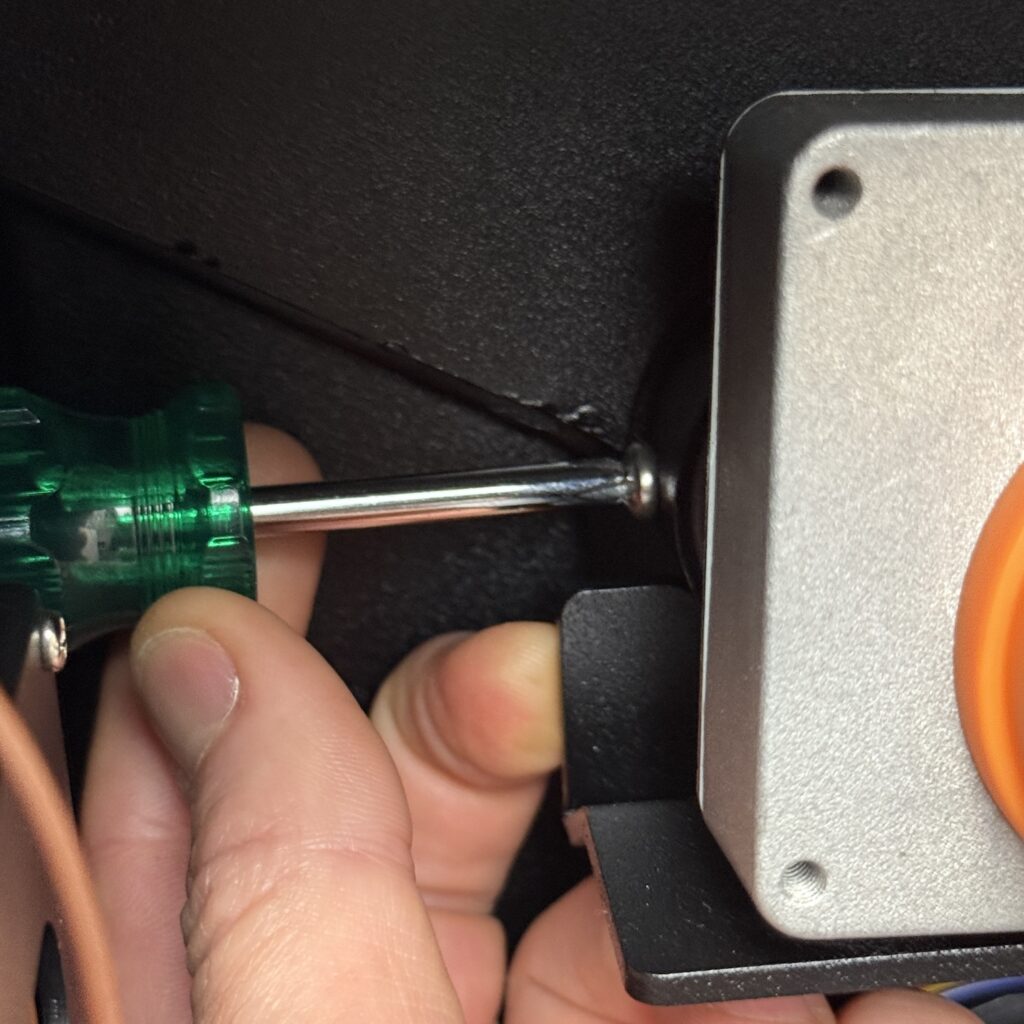
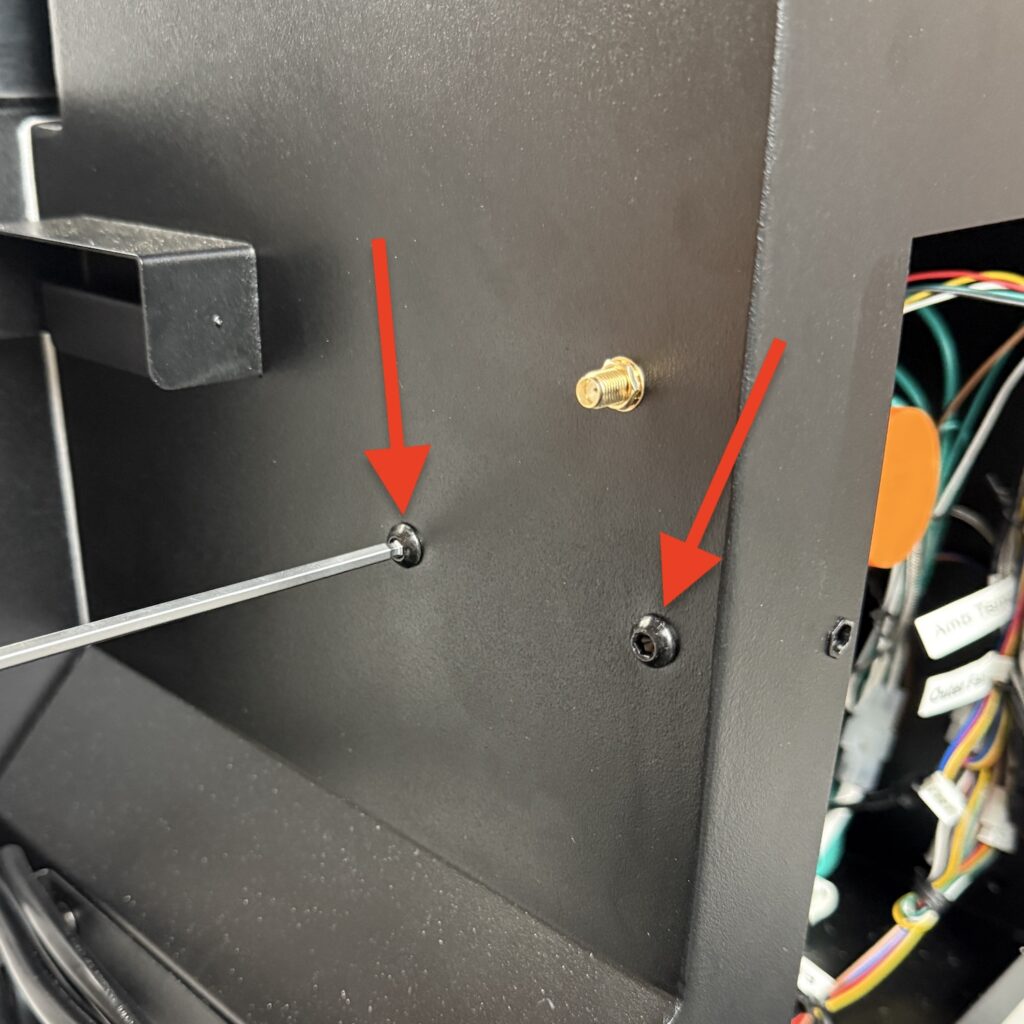
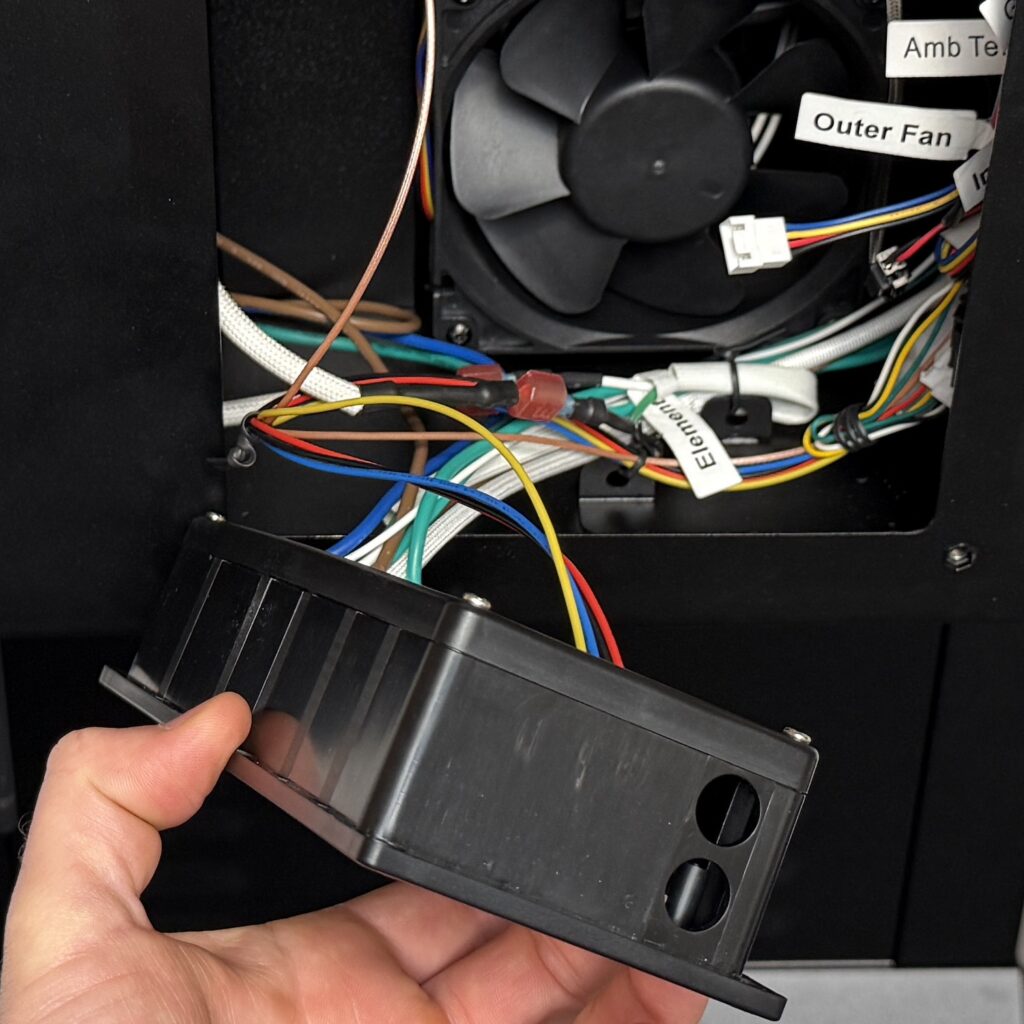
If struggling to get access to the screw (big hands), the black AC power box can be temporarily lifted out of the way by taking out the two rear hopper screws and carefully laying the AC box down outside the box opening. No cables need to be unplugged.
Take care not to pull on antenna wire – or temporarily undo the brass nut and remove.
Moving the black AC box out the way will give a lot more space when using screwdriver to access the side screw.
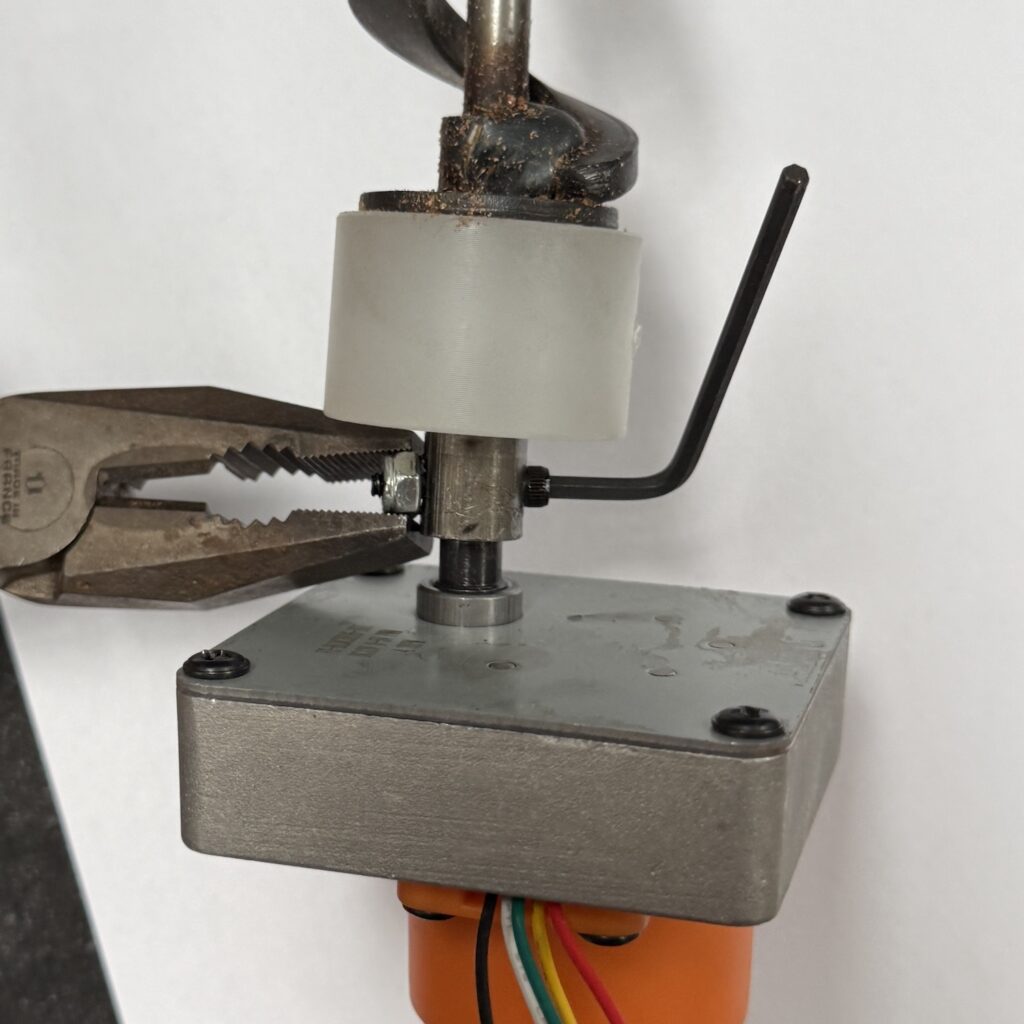
Remove Auger
Slide out the auger. Some pellets will drop out into the hopper area, so vacuum them up.
Remove shaft bolt with supplied Allen key.
Switch over to the new auger motor.
The white bushing need only be replaced with the newly supplied one if clearly damaged or worn.
Reinstall Auger
Slide the auger back in, aligning the hole in the white bushing with the hole in the side of the metal tube. If there isn’t already, draw on a marking in line with the hole so easy to get the correct alignment.
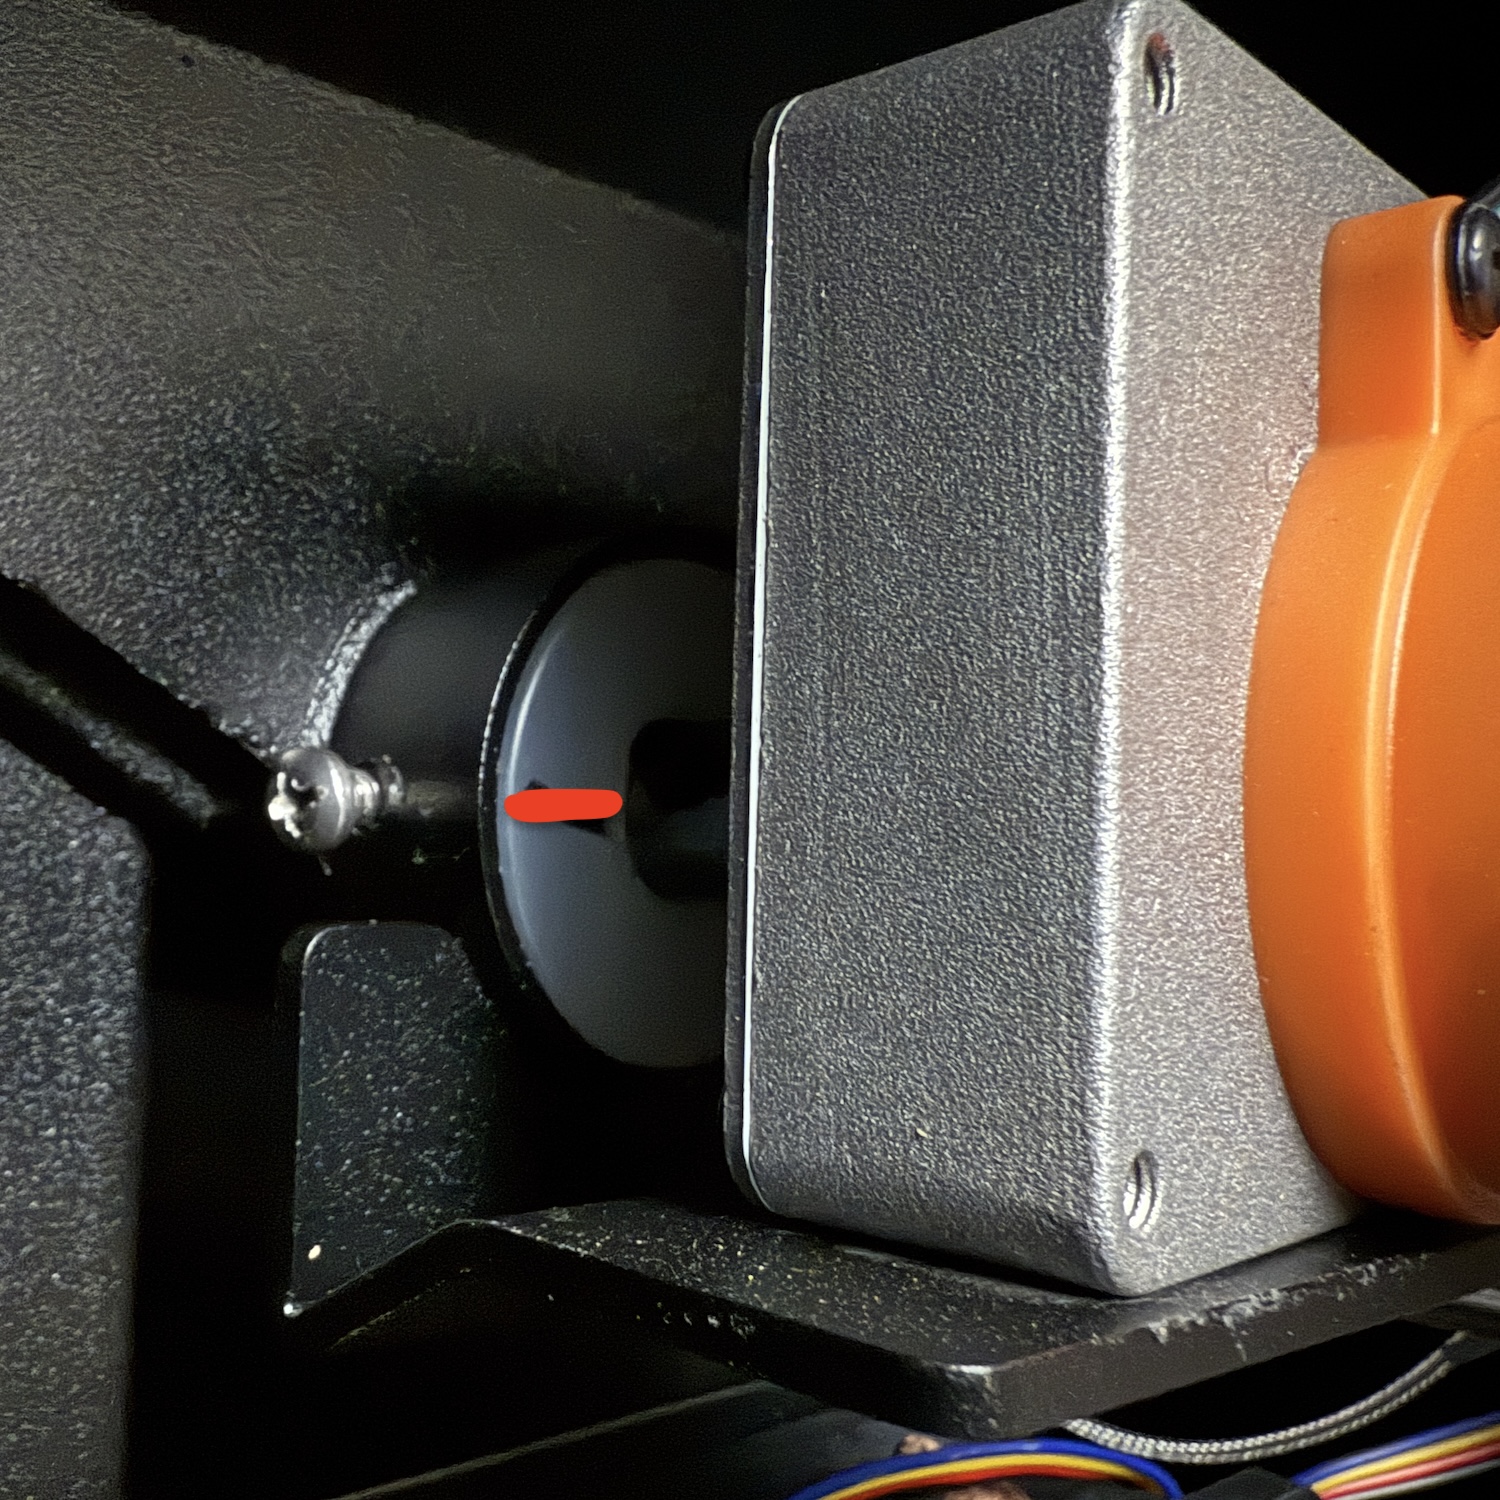
While holding the point of the screw in through the hole in the metal tube, slide the bushing in until the screw finds the hole. Then screw into place with the screw driver.
Plug In and Clean Up
Reconnect the ignition rod plug.
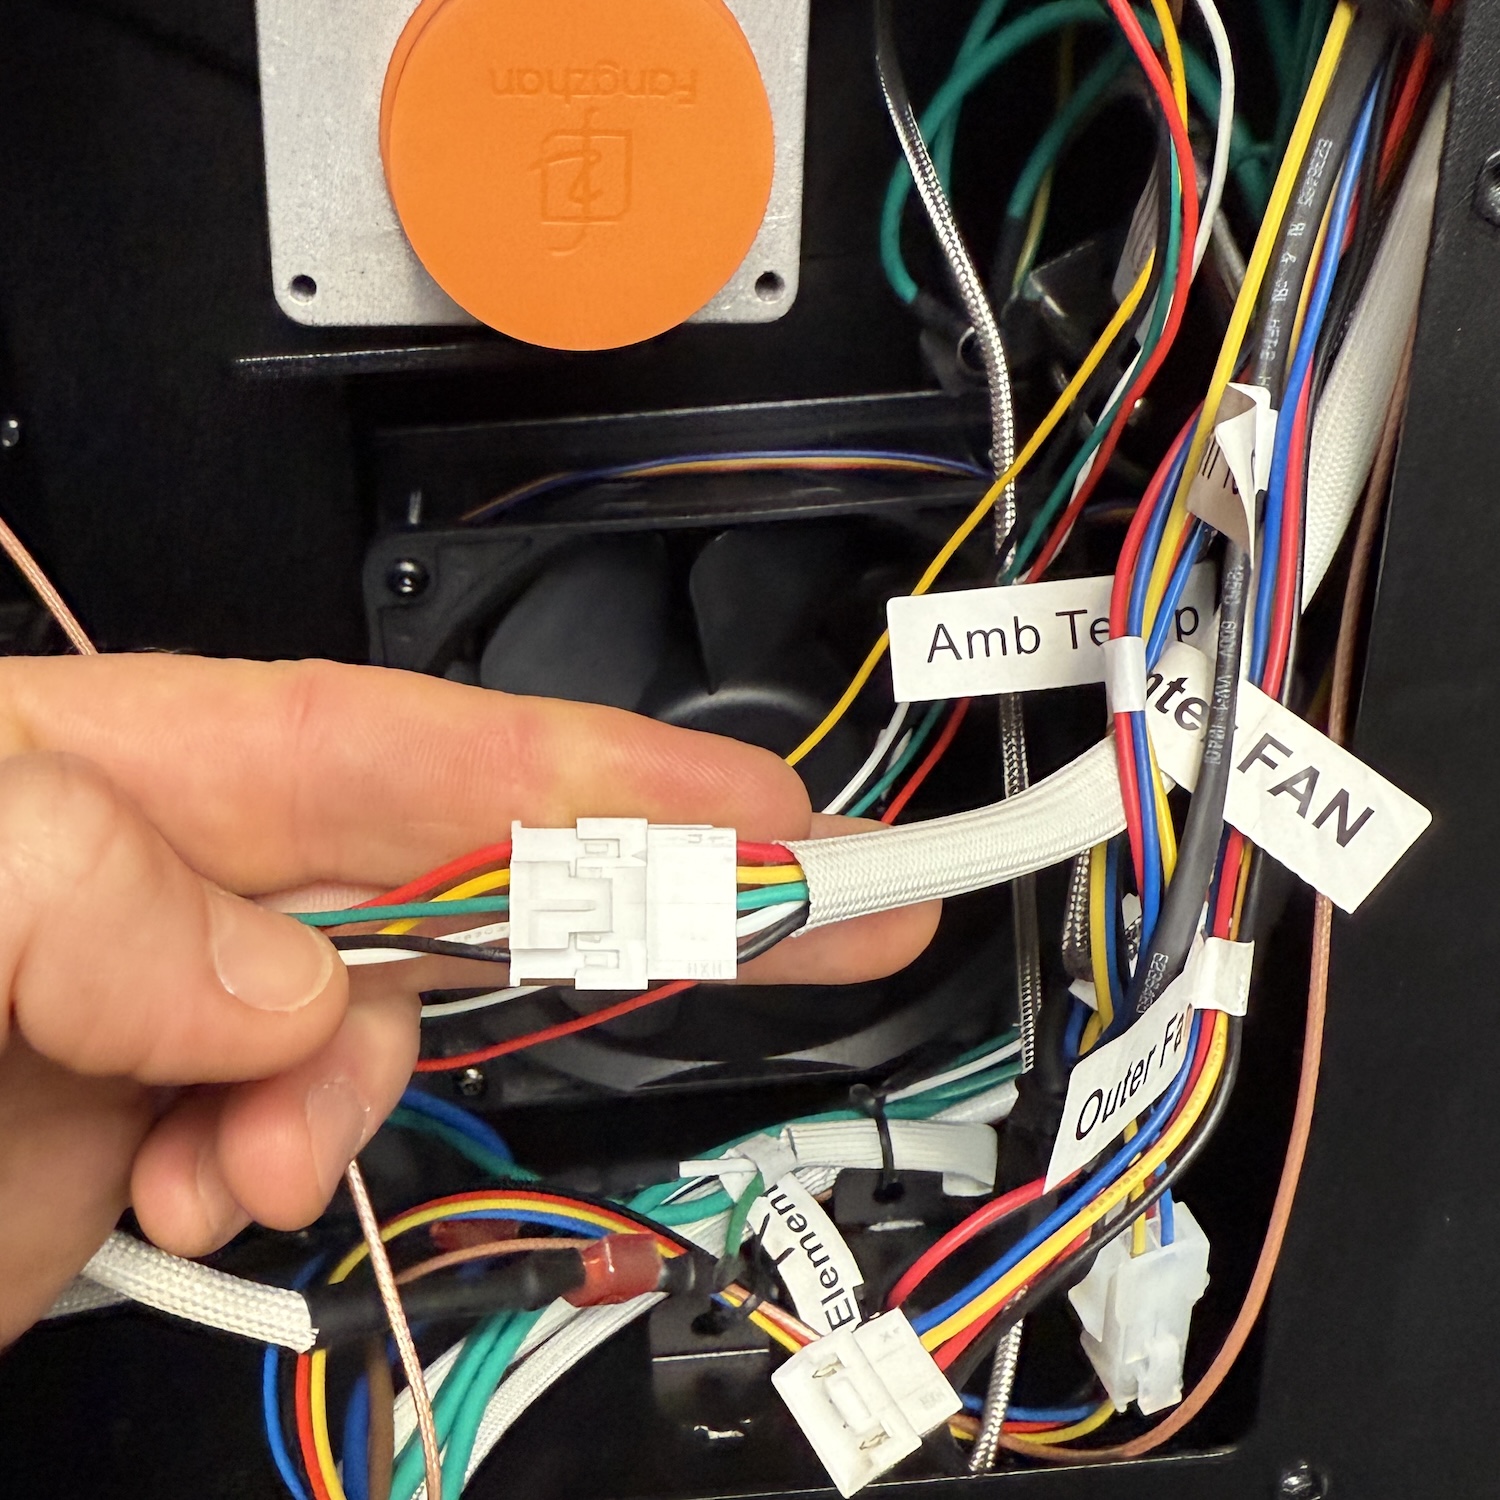
Neatly secure the cables off to the right out of the way of the fan using cable ties or twist ties.
Replace the cover (don’t forget to connect the fan plug first!)
Replace finger guard.
Plug the grill back into power and then use the Fill Auger Tube function to confirm if the auger is rotating correctly.

Job Done! Good Work!